Lightspeed HA
Event Location: Cocoa-FL
Competition: Junior Solar Sprint
Division: 4-6 (JSS Green)
School: Orlando Science Schools
Team Size: 2
Team: Henry N. (6th) – Orlando Science Middle, Alex (6th) – Homeschool
Materials
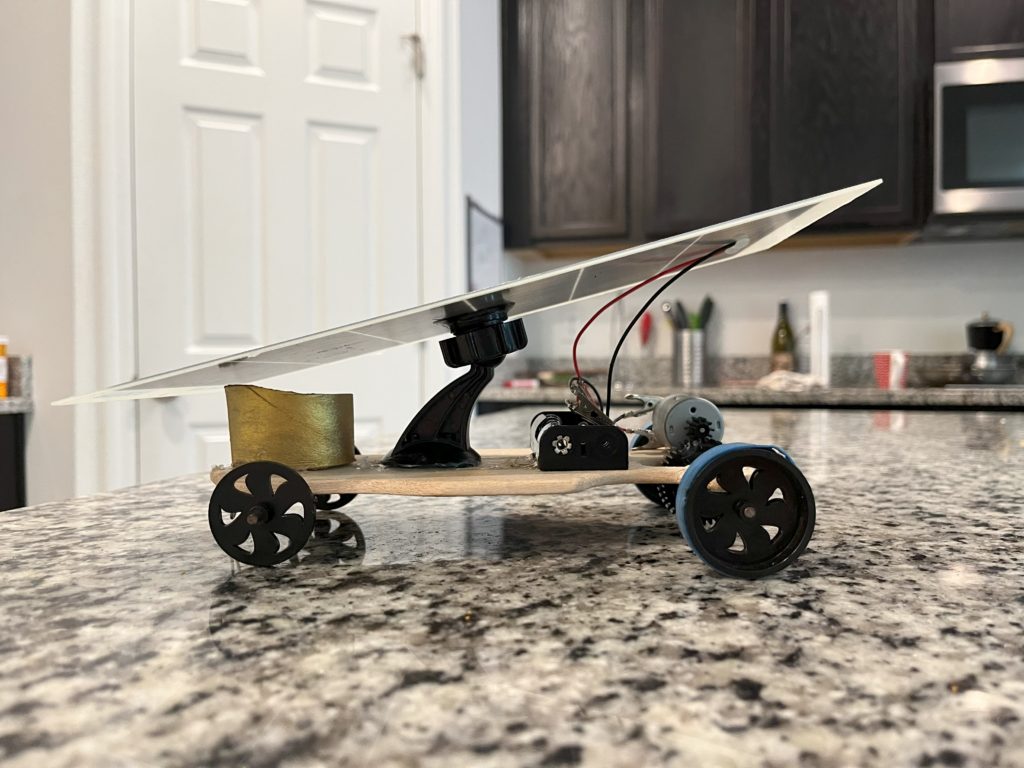
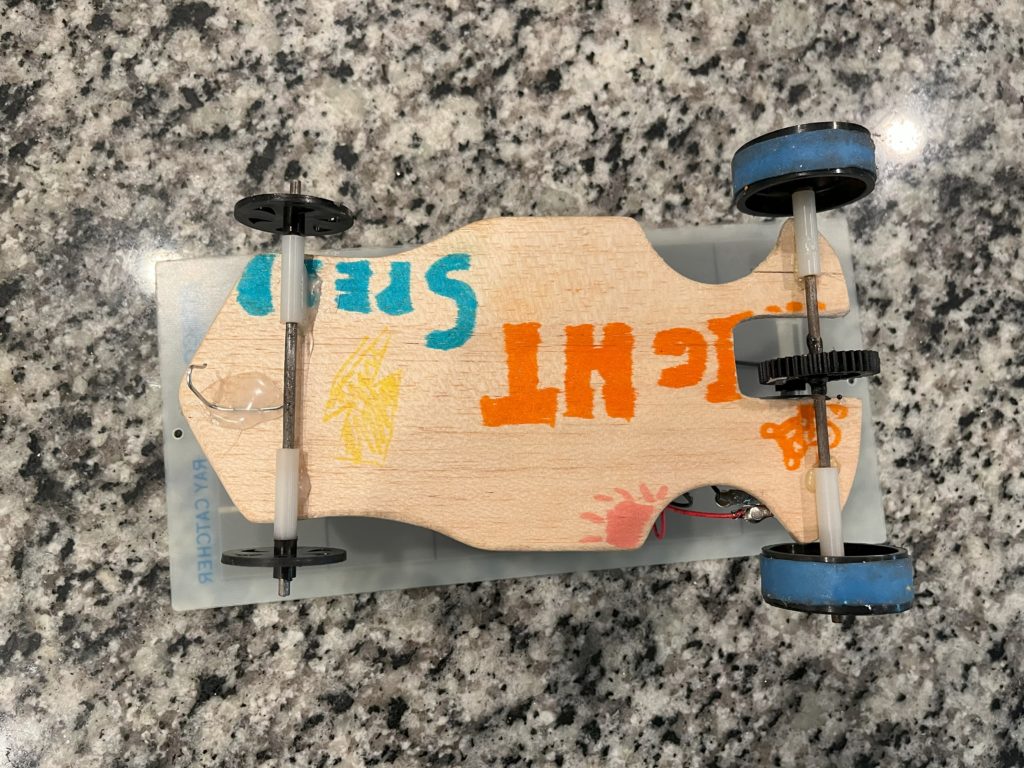
- Chassie – Balsa wood shaped x1
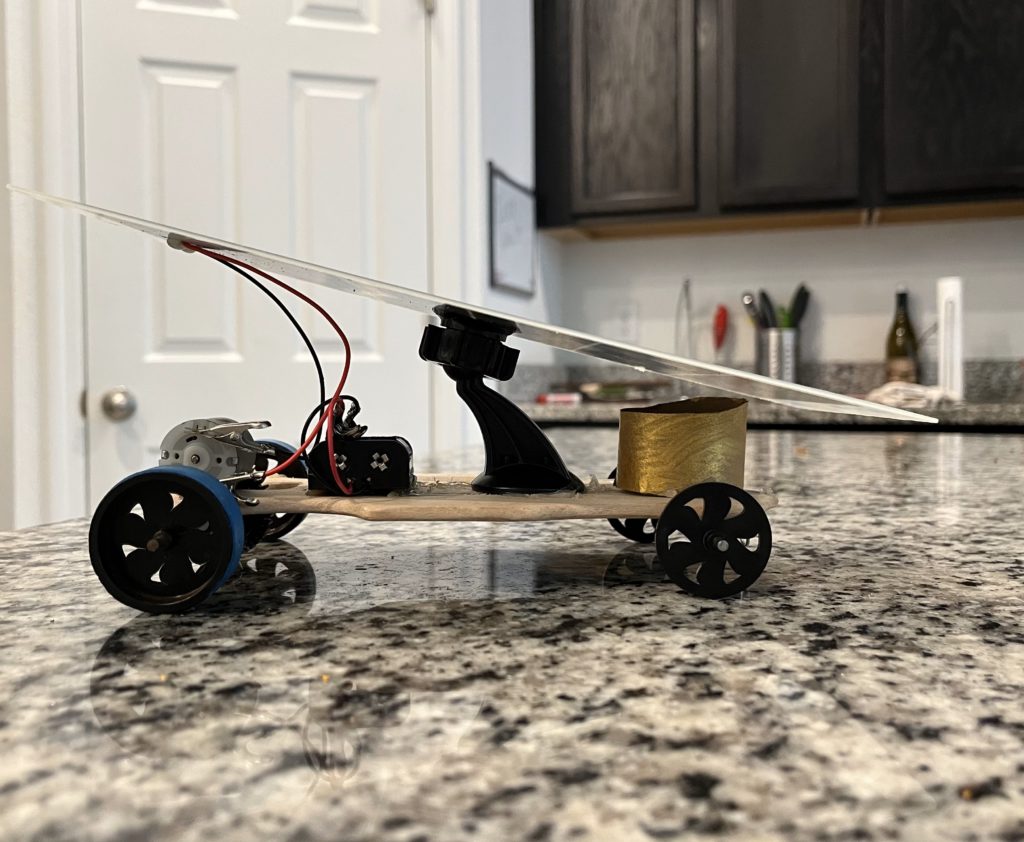
- Solar panel mount – Plastic swivel from old Halloween light x1
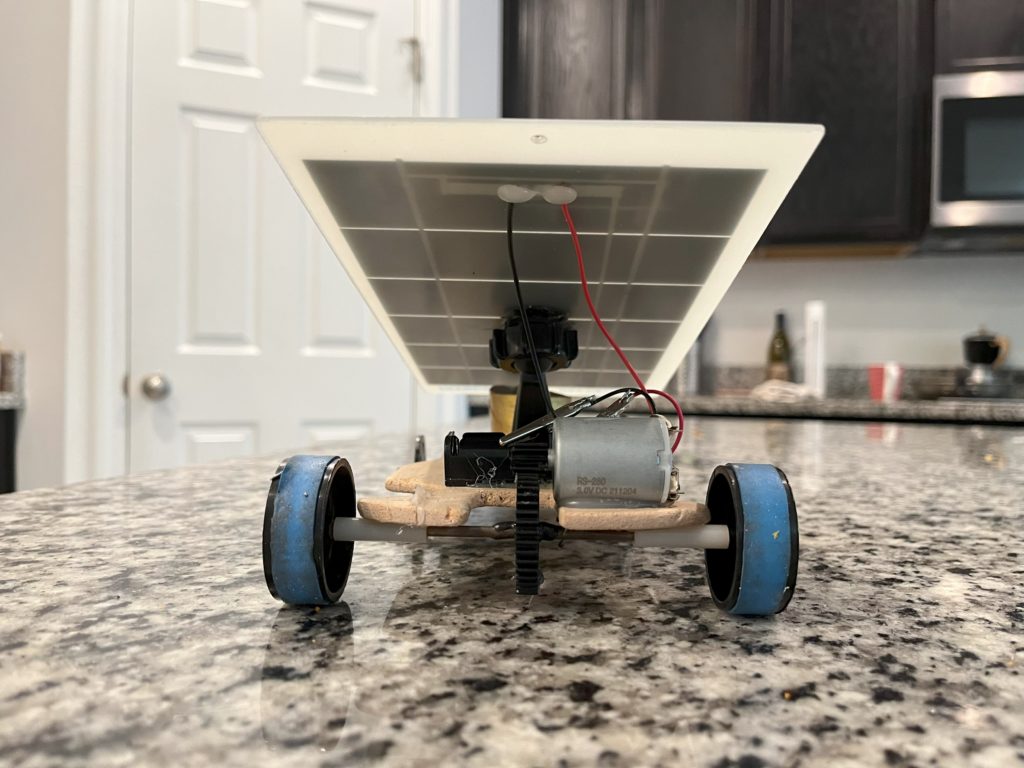
- alligator clips x4
- Solar Panel – Pitsco x1
- Battery Holder x1
- Front wheels – 3cm x2
- Rear wheels – 4cm x2
- Motor gear – 10t x1
- Axle gear – 40t x1
- Guide – cut paper clip x1
- Motor – Pitsco x1
- Ping Pong Ball Holder – Cut paper towel roll x1
- Axles x2
Photos
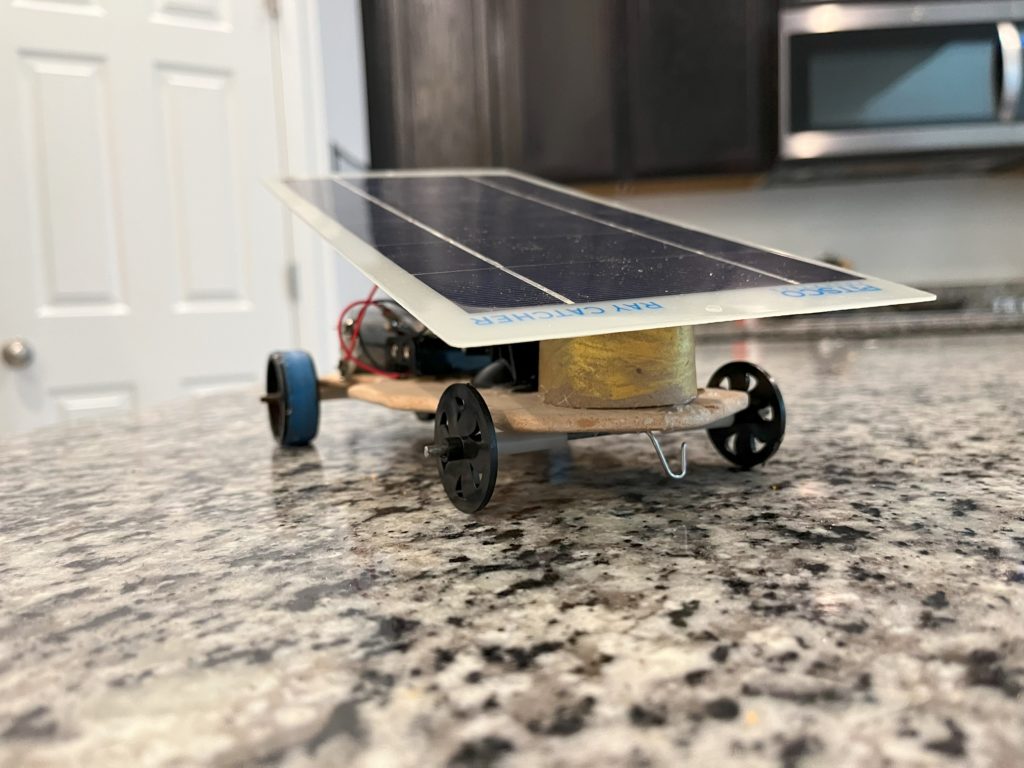
Project log
9/13
During club time today we traced a pattern for the chassis and started cutting it out. It took us 30 minutes to trace the pattern and cut it out.
9/20
Today finished cutting out the chassis and sanded the edges to make it smooth. It took us 30 minutes.
10/4
We cut out the back part for the motor. At first, we cut it too narrow, but we made it a little bit wider to make sure we had enough space to fit the gear. One big problem we had was that part of the chassis broke off in the back, but we glued it back together with hot glue. It took us 30 minutes.
10/11
Today we put the back axle on the car. We glued the plastic peices that you put the axle through to the back of the chassis. Then we slid part of the axle through part of the way. We realized that we had to slide the gear on before we put the axle through the other side. It took us 30 minutes.
10/18
First we finished the back axle and put the wheels on the car. Then, we put the motor on by hot gluing it to the car. We thought we might need to raise the motor up to fit the gears together, but we were able to glue it right to the body at the top.
10/24
We put the front wheels on the car. We glued the plastic pieces to the car, put the axles through, and then put the front wheels on the car. It took us 20 minutes.
11/8
Today we added a mount for the solar panel. First we had to cut a Styrofoam ball in half. Then we glued the half Styrofoam to the chassis. Finally, we put Velcro on the ball and the solar panel so that it would stay on the car. It took us 25 minutes.
12/6
We glued the battery pack to the chassis and put alligator clips on the wires. It took us thirty minutes.
12/13
We put alligator clips on the wires for the solar panel to make it easier to attach to the motor. It took us 15 minutes.
1/10
Today we cut and painted the paper towel roll to hold the ping pong ball. After we let it dry, we glued it to the car. It took 20 minutes to do this part.
1/17
We tested the car today and it ran fine with solar power in sunny conditions, but the solar panel was loose. We added two more strips of velcro and it seems to be a little stronger. It took us 30 minutes.
1/24
We tested it again and it seems like the solar panel is still kind of loose. It was also tested in partly cloudy conditions. It also seems like the solar panel will not face the sun in the afternoon becuase it only can move back and forth and not side to side. It took 30 minutes.
1/31
We found a better way to mount the panel. My dad was cleaning the garage and found an old Halloween projection light that did not work anymore. We took it apart and put it on the car to hold the solar panel. This took 25 minutes.
2/28
We tested the car and the new mount works really well. The problem we have now is that the gear on the back axle is slipping. We put some more hot glue on it and let it dry, but it did not hold that well. It took 20 minutes.
3/7
We put JB Weld on the back axle to hold the gear on. It took 15 minutes to put it on and then we let it dry for the night.
3/14
We tested the car again in sunny conditions and it works really good with the JB Weld. This took about 20 minutes.
Oh my! I love how you attached the solar panel. That moves around so smoothly. I can’t wait to see it in person.
I love that you used an old Halloween decoration for your car! How creative and resourceful.