
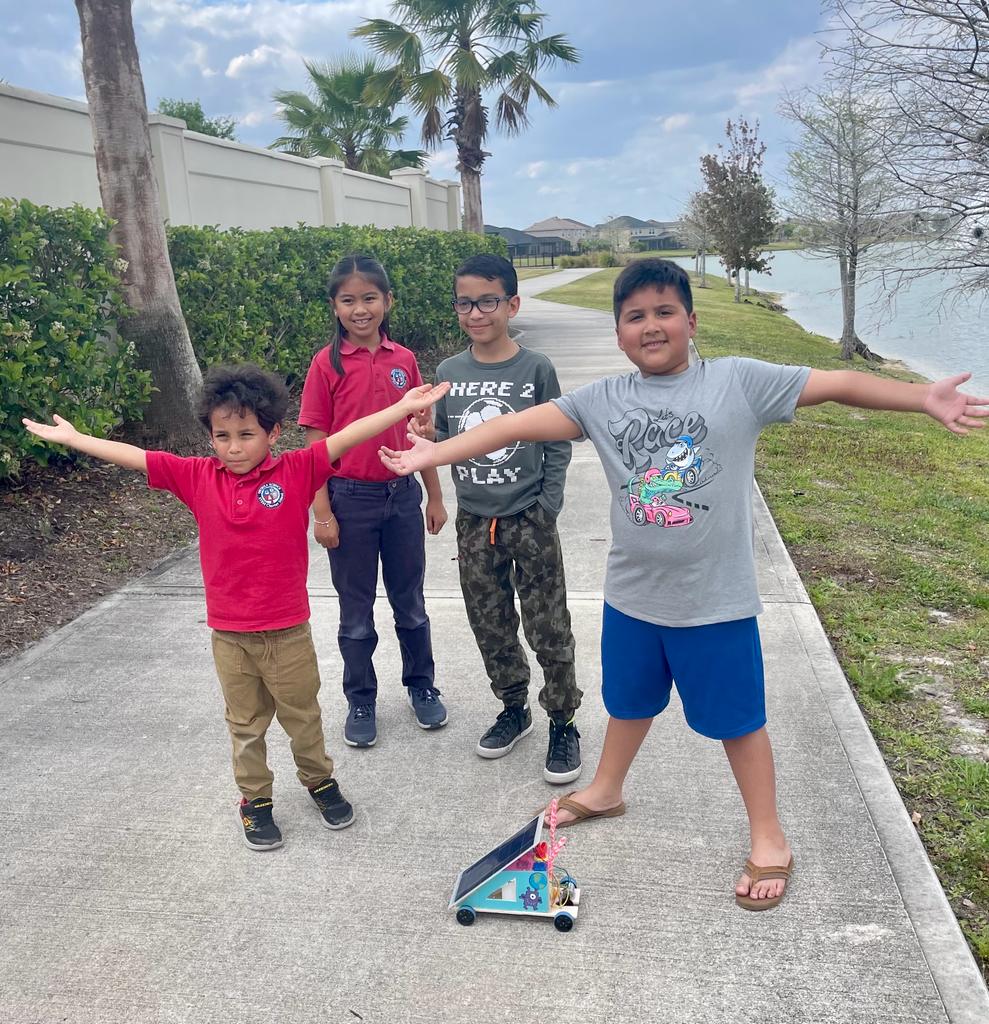
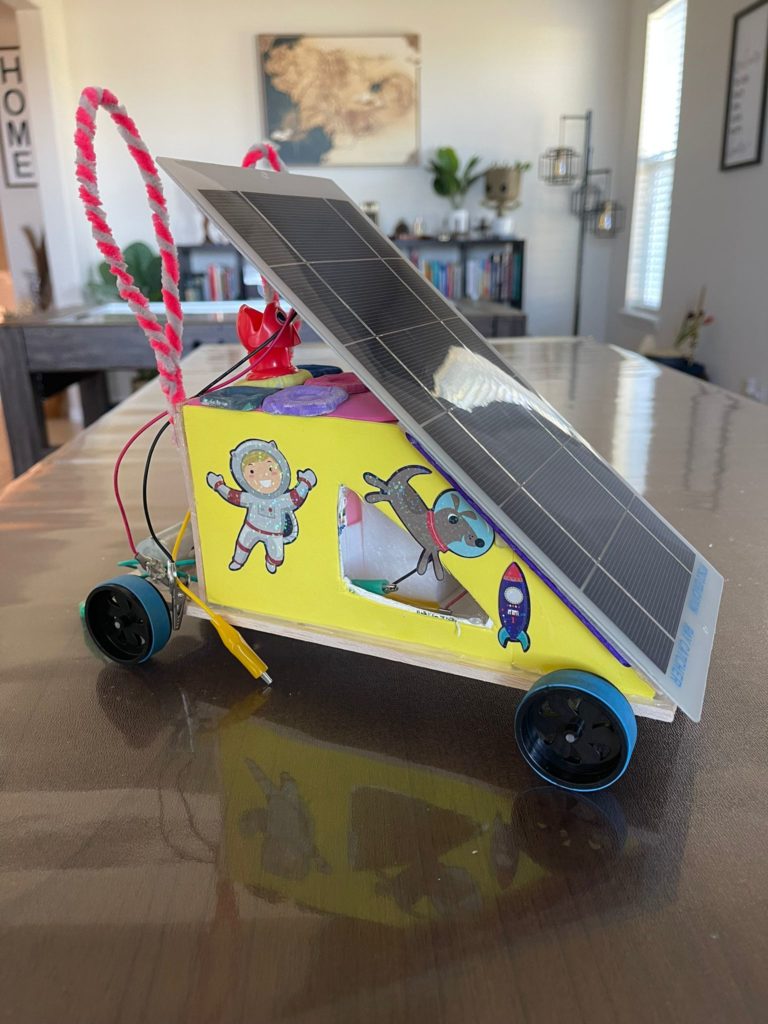
Space Ranger Bunny 🚀🚘🐰
Event Location: Cocoa-FL
Competition: Junior Solar Sprint
Division: 4-6 (JSS Green)
School: Osceola Science Charter School
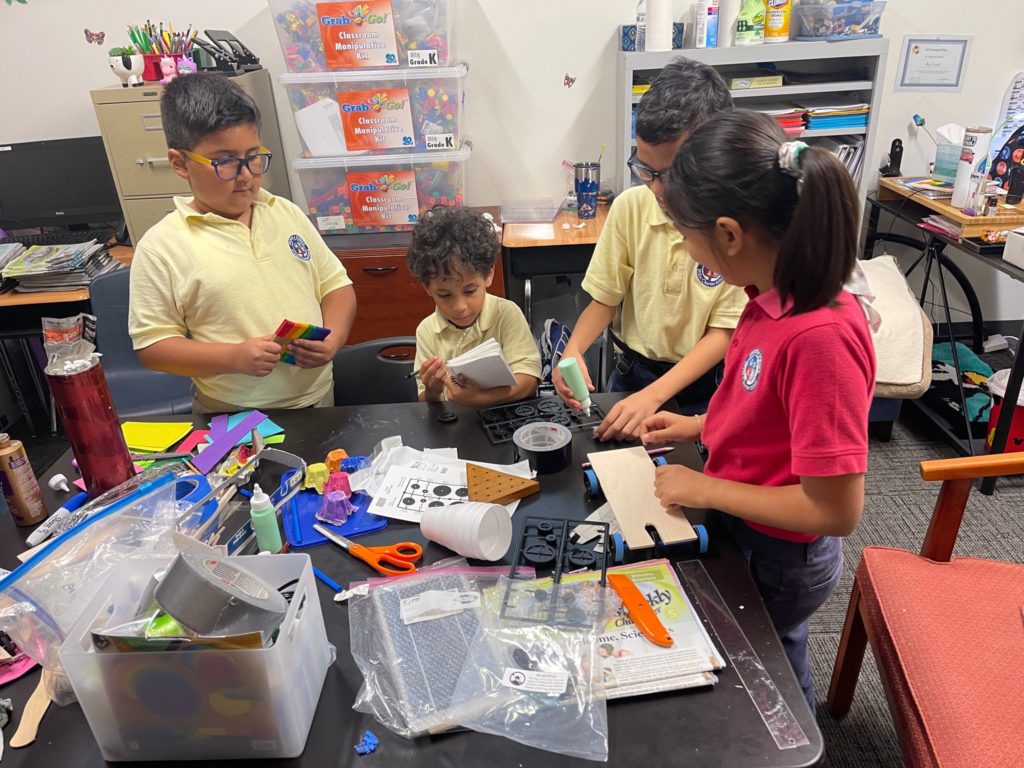
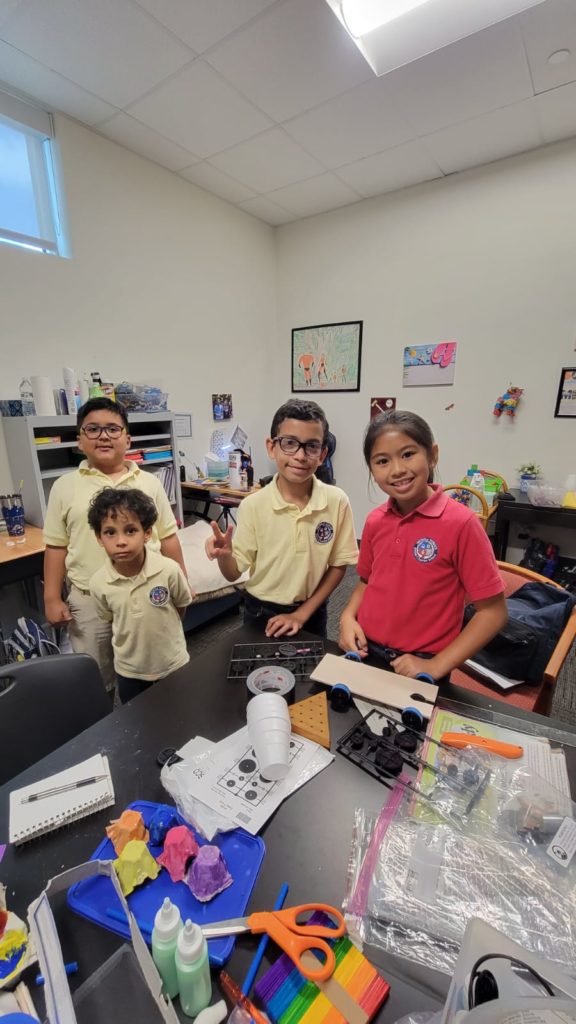
Team Size: 4
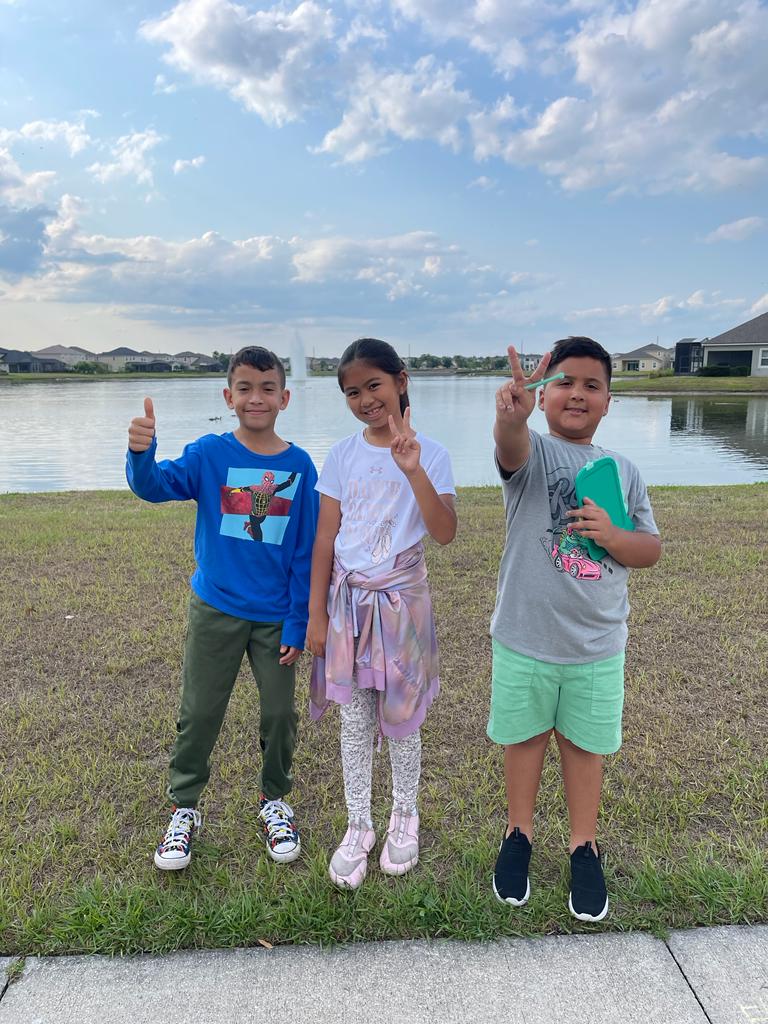
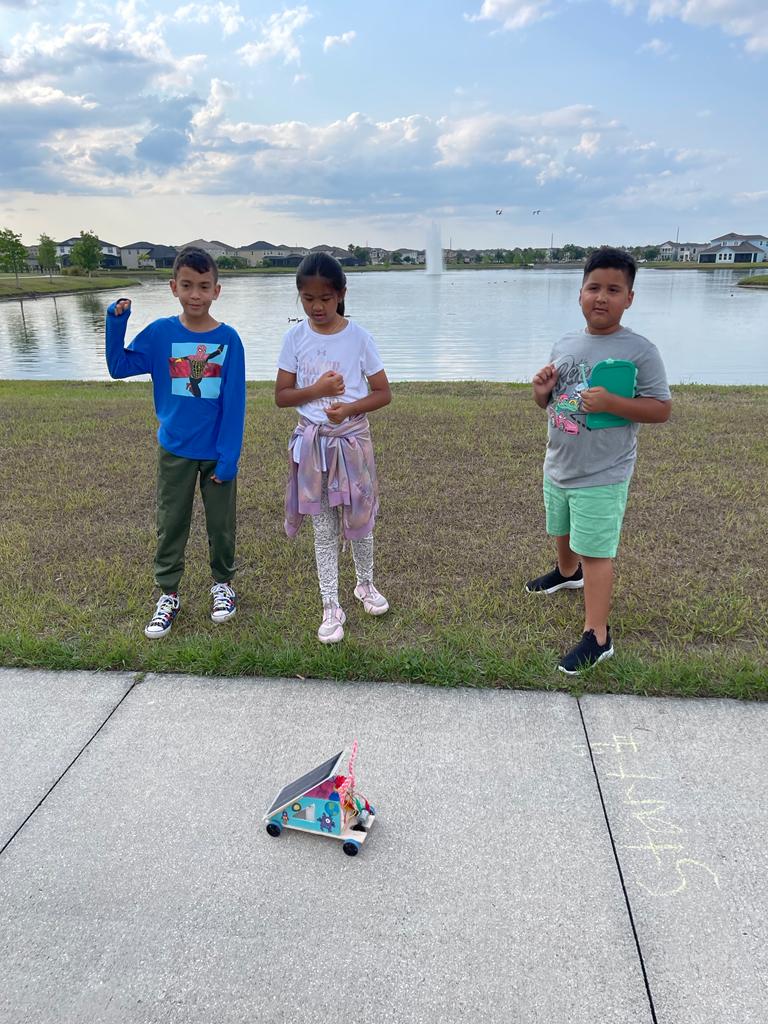
Team Members: Adam (K), Eros (K), Yzabelle (3rd), and Joseph (5th)

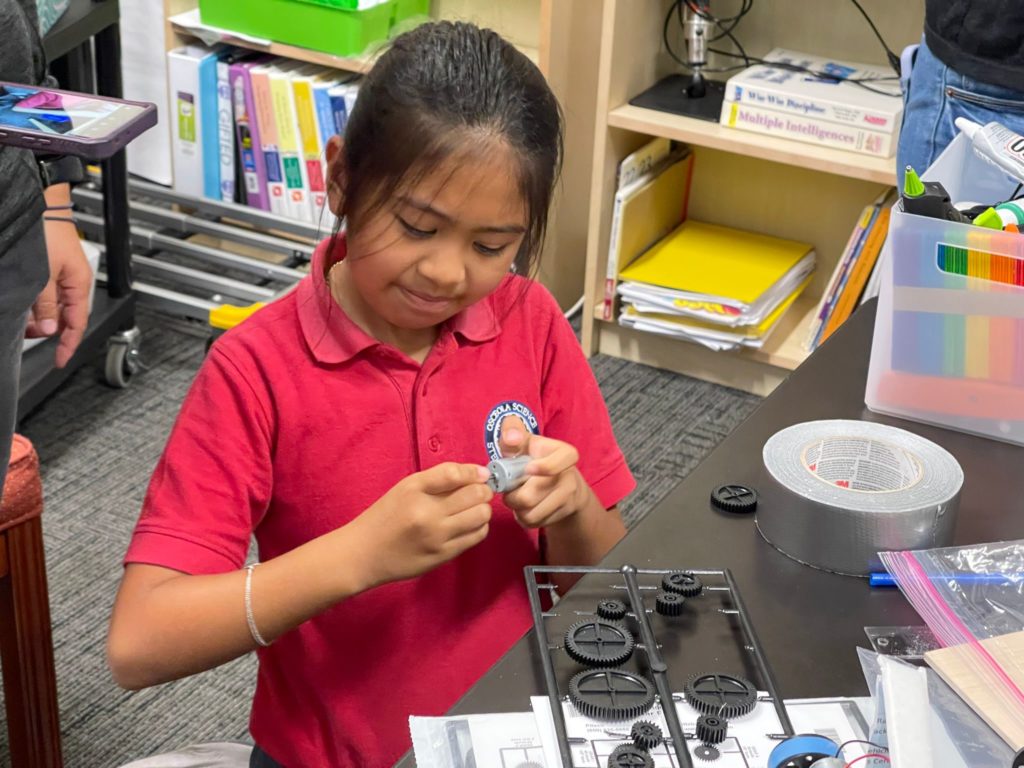
Materials
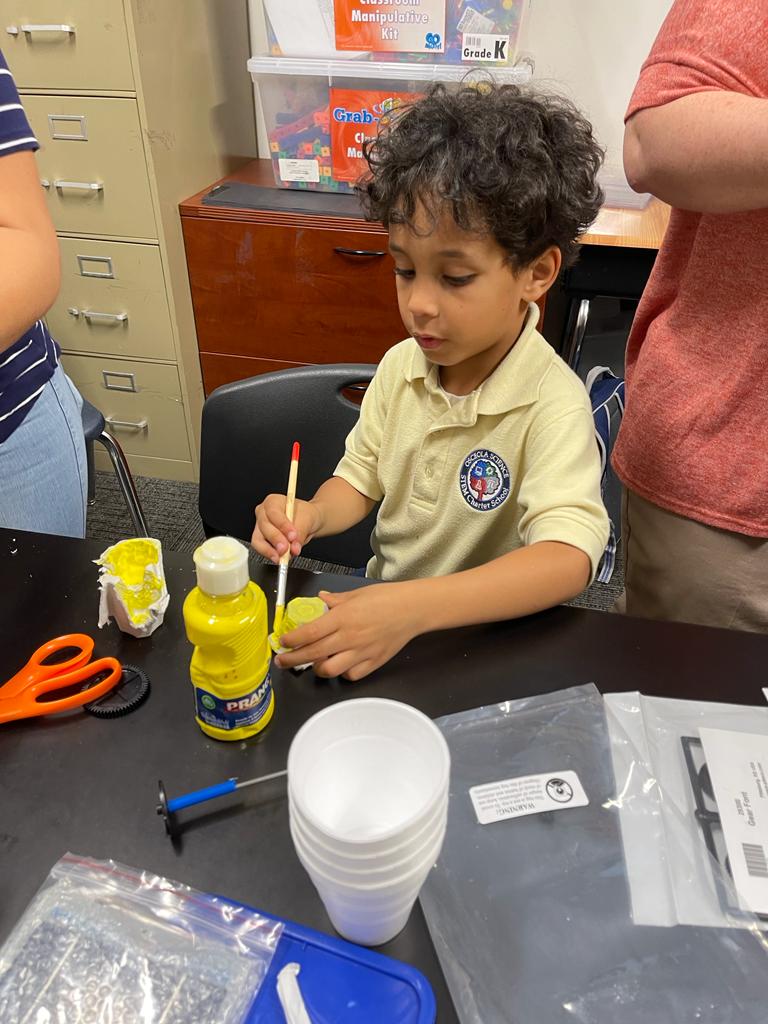
We started by gathering all the materials needed for the project. Here is a list of the materials used to create our car:
- Wood piece for the base.
- Balsa wood for details of the structure
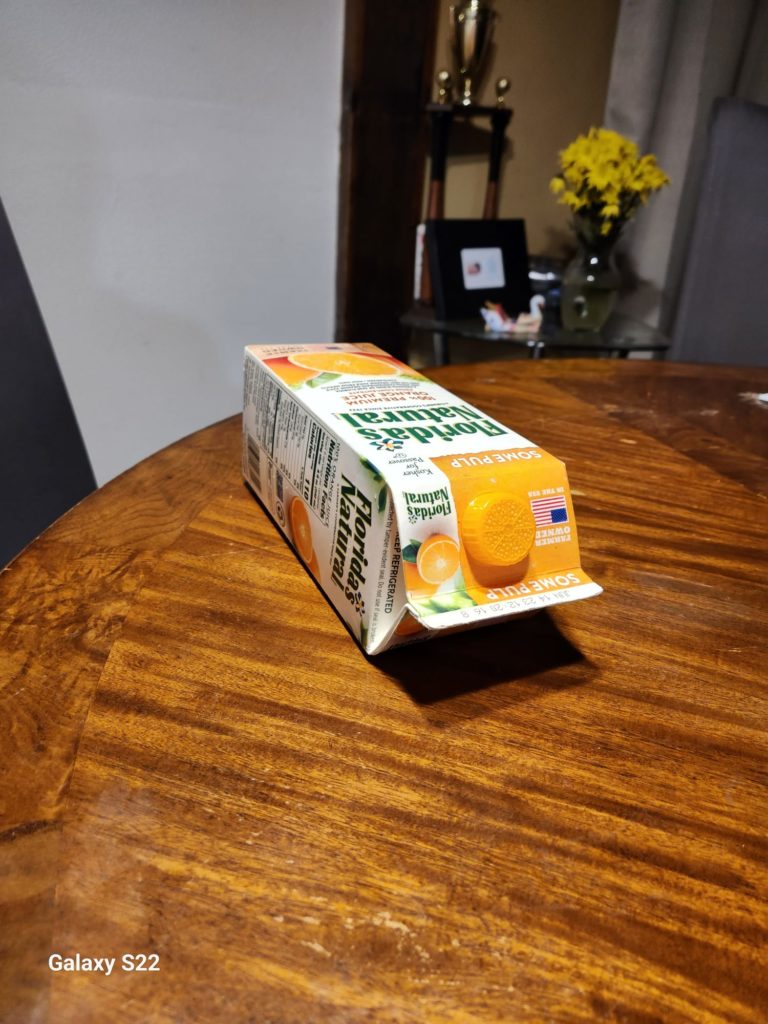
- Recycled juice box for the main structure. This was glued to the wood base.
- Easter Colors foam to cover the juice box
- Stickers for decoration
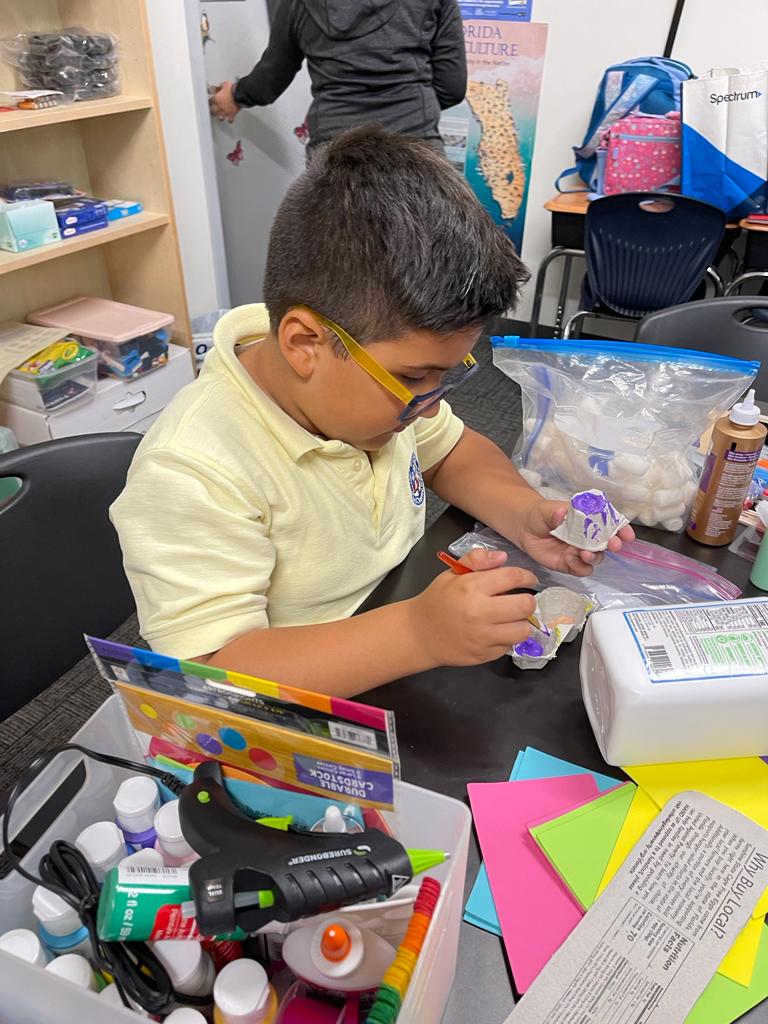
- Carton egg pieces to decorate
- Pipe cleaners for the big Bunny ears
- Half styrofoam cup for placing the bunny (passenger) inside
- DC motor
- Batteries
- Color code cables for the circuit
- 4 Wheels, Axle, and straw pieces to help move the car.
- 4 rubber bands to surround the wheels.
- Hot silicon
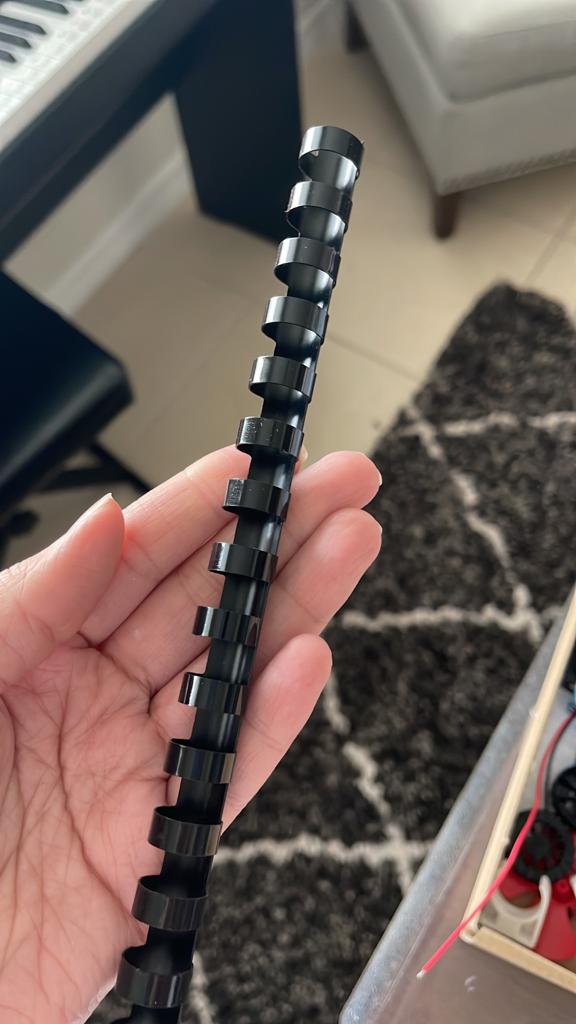
- A styrofoam column inside the juice box to gives stability
- Velcro to attach the solar panel
- Solar panel
- Small shark in honor of our school.
- Popsicle Sticks
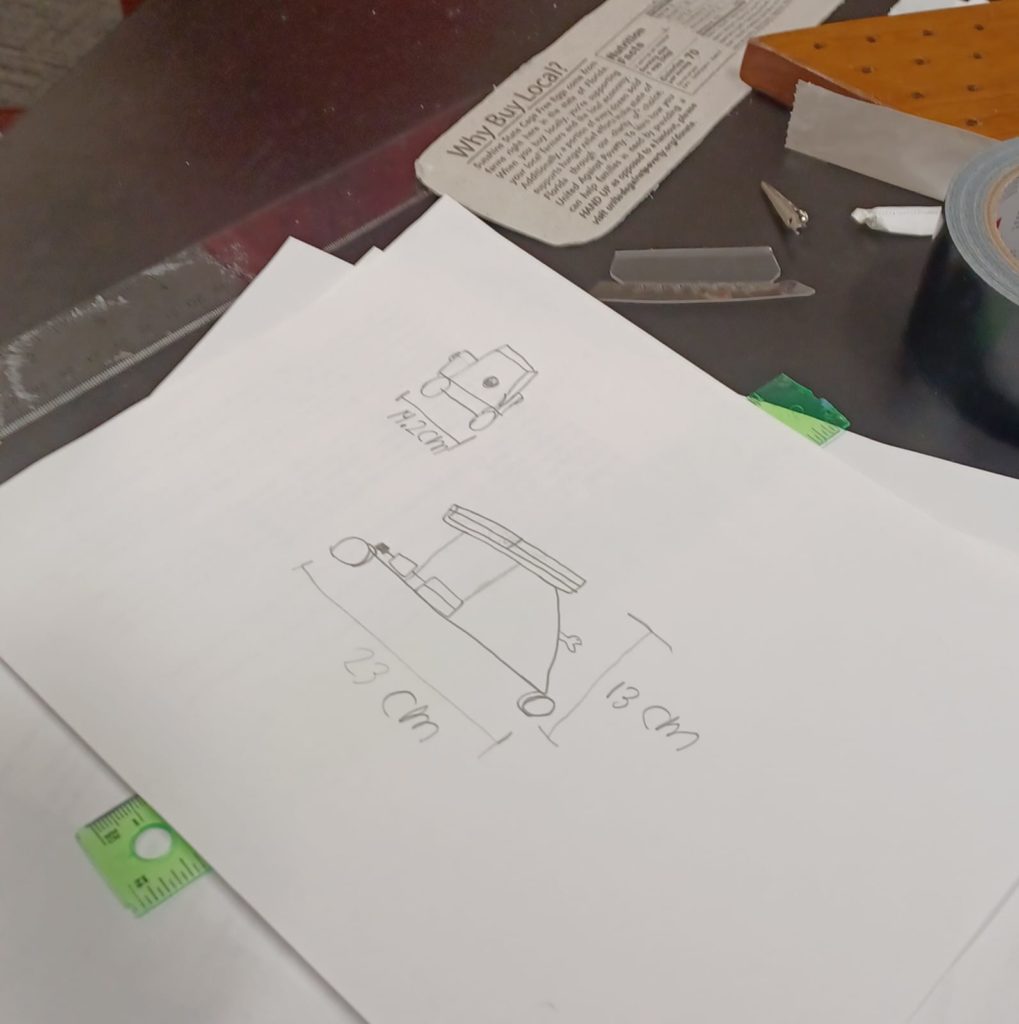
Specifications
L=23 cm W= 14.2 cm H=13 cm
Weight, Car weight 362.8 Grams
Gear specs are 40T:10
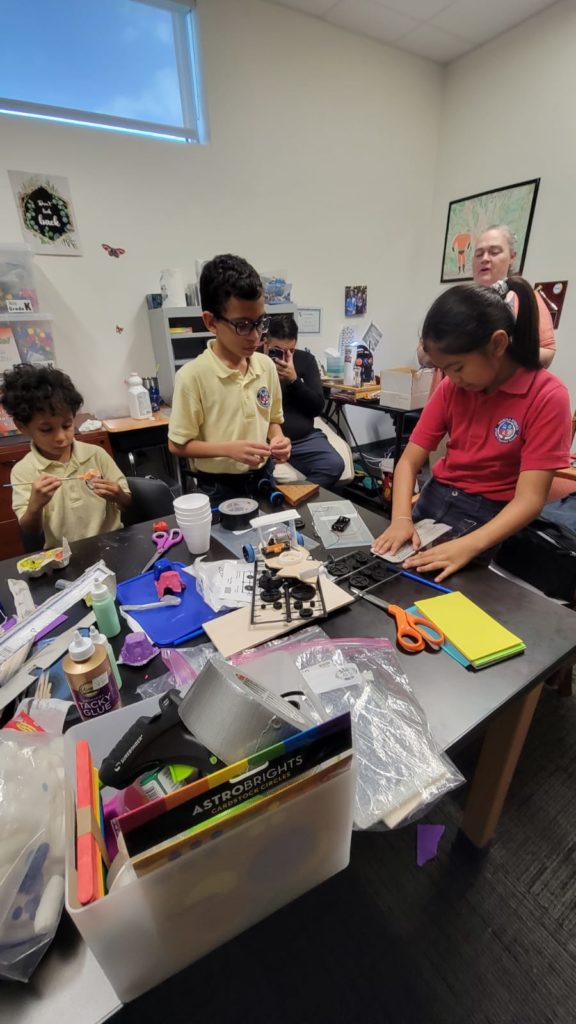
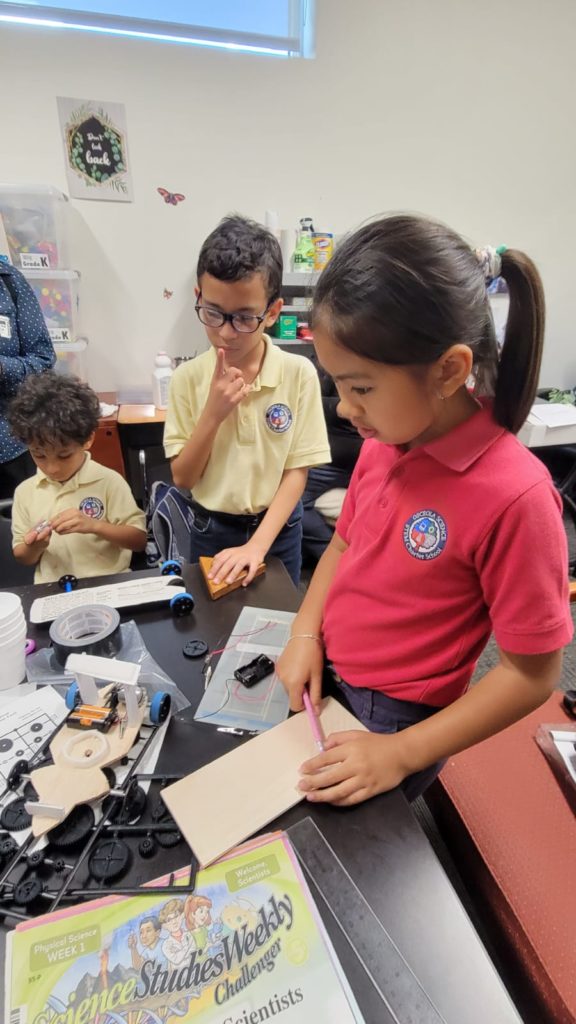
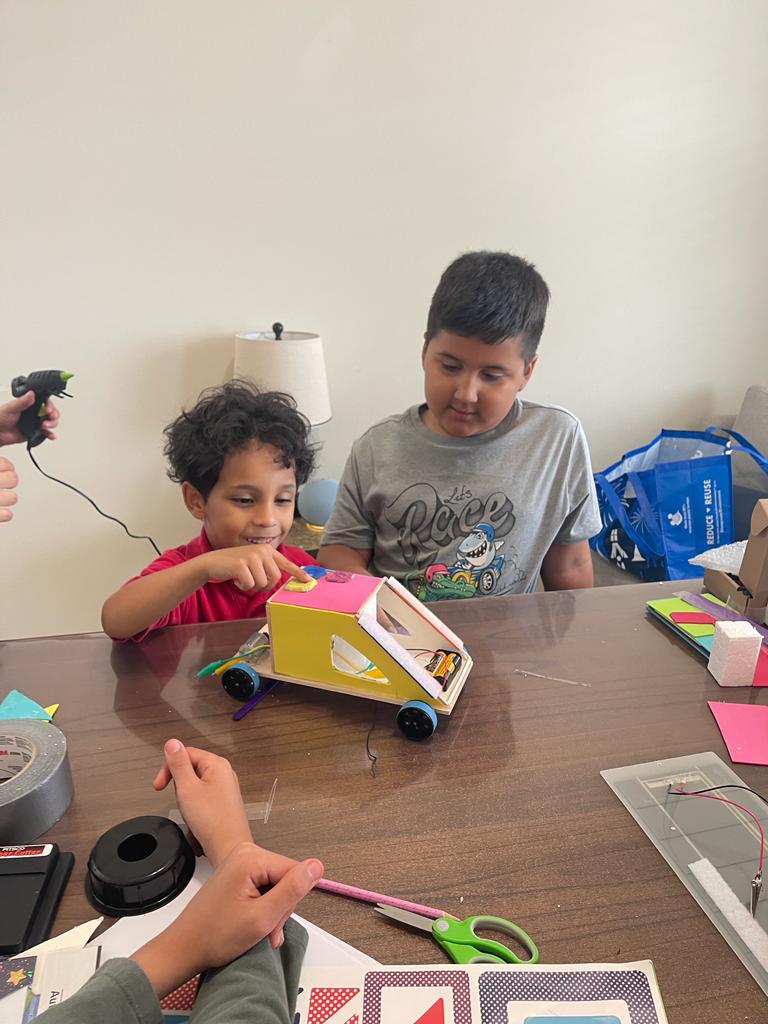
Project Log
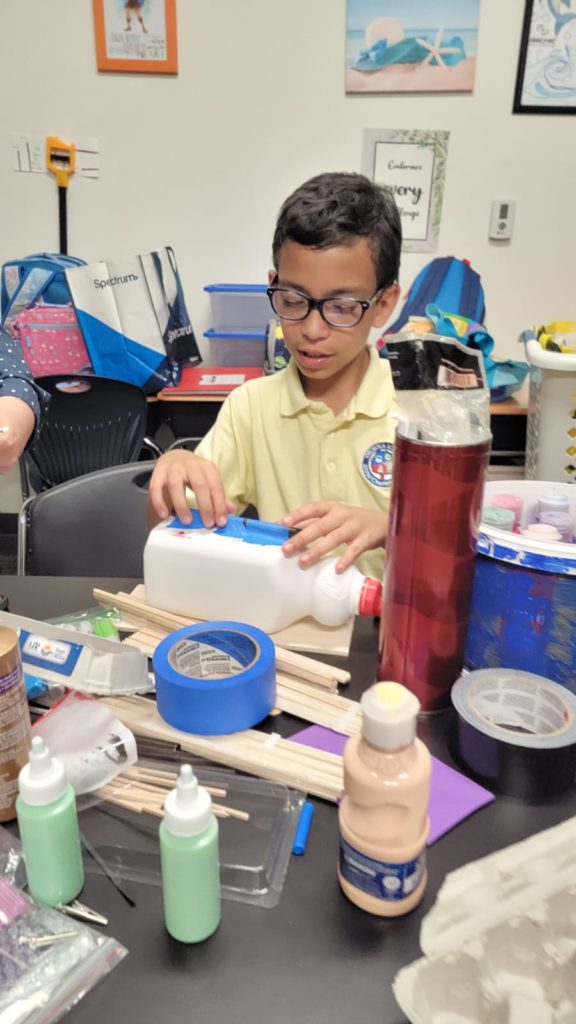
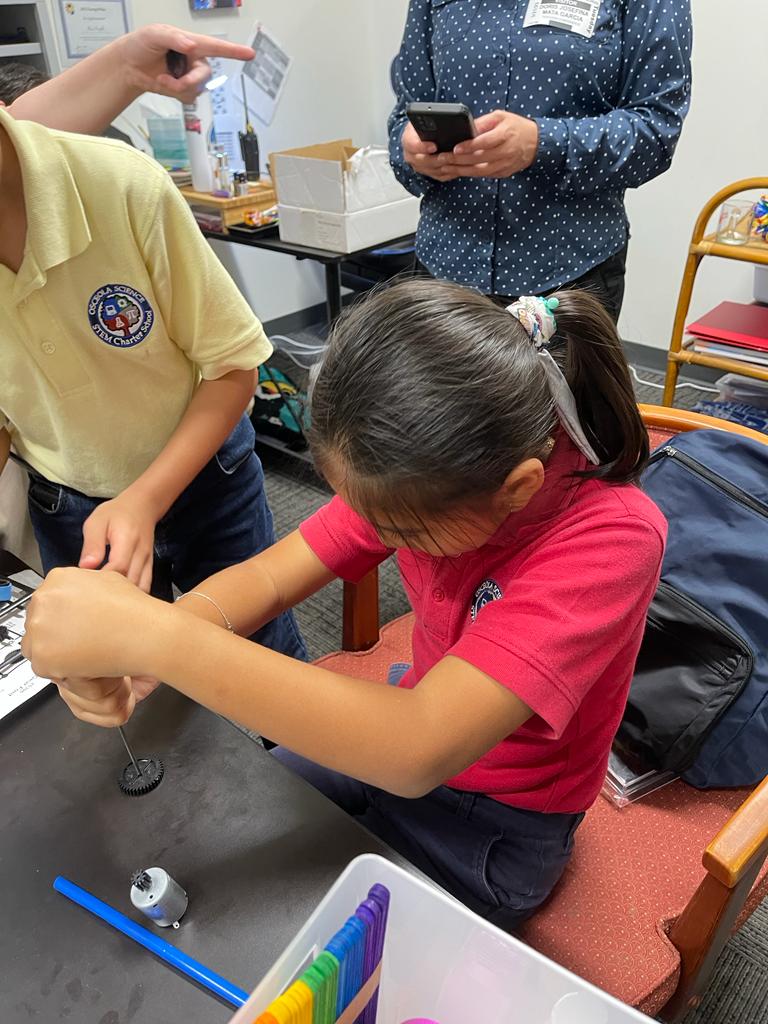
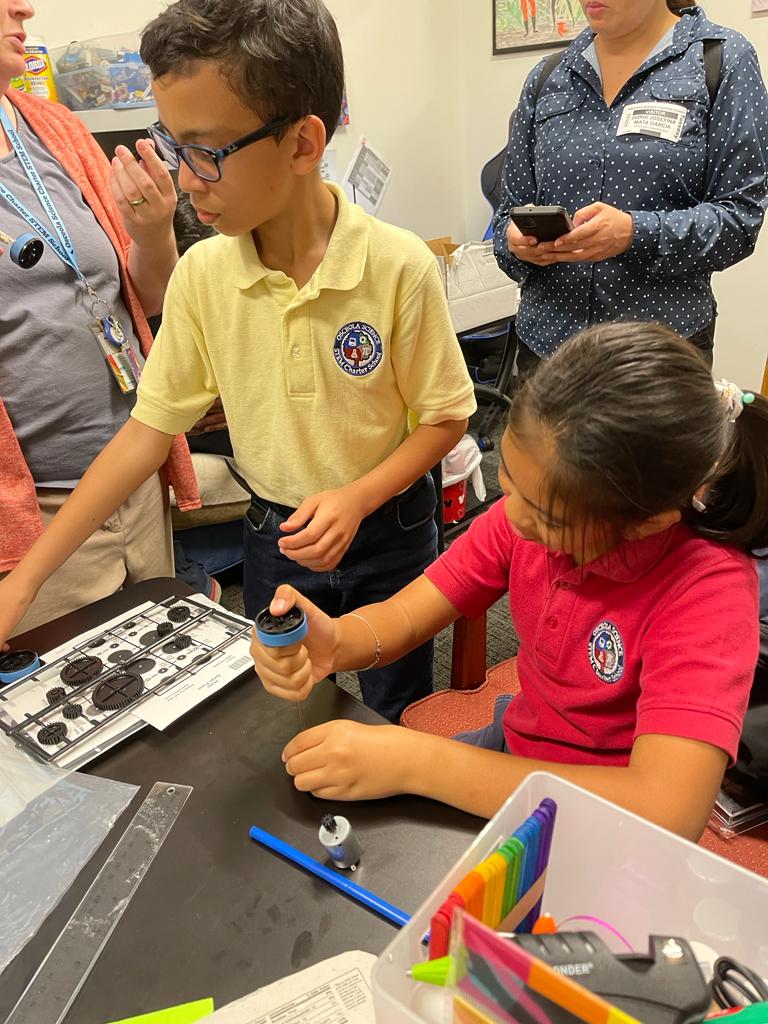
March 21, 2023 – Design and construction of the car.
Participants: Adam, Yzabelle, Eros, Joseph
Where: School
Time: 2 hours
March 22, 2023 – Adjusting Details and Testing.
Participants: Adam, Yzabelle, Eros, Joseph
Where: Adam’s House
Time: 2 hours
March 23, 2023 – Testing.
Participants: Adam, Yzabelle, Eros, Joseph
Where: School
Time: 1 hour
April 16, 2023 – Testing before the competition.
Participants: Adam, Yzabelle, Joseph
Where: Adam’s House
Time: 2 hours
Costs
- Wood piece for the base – $ 0.58
- Balsa wood for details of the structure – $ 1.75
- Recycled juice box for the main structure. This was glued to the wood base. – (recycled)
- Easter Colors foam to cover the juice box – $ 0.58
- Stickers for decoration – $ 1.00
- Carton egg pieces to decorate – (recycled)
- Pipe cleaners for the big Bunny ears – $ 0.05
- Half styrofoam cup for placing the bunny (passenger) inside – $ 0.03
- DC motor – $3.99
- Batteries – $ 1.80
- Color code cables for the circuit $ 0.40
- 4 Wheels
- Axle
- straw pieces – $ 0.02
- 4 rubber bands
- Hot silicon – $1.27
- A styrofoam column inside the juice box to gives stability – $ 1.25
- Velcro to attach the solar panel – $ 1.25
- Solar panel
- Small shark in honor of our school – (recycled)
- Popsicle Sticks – 0.05
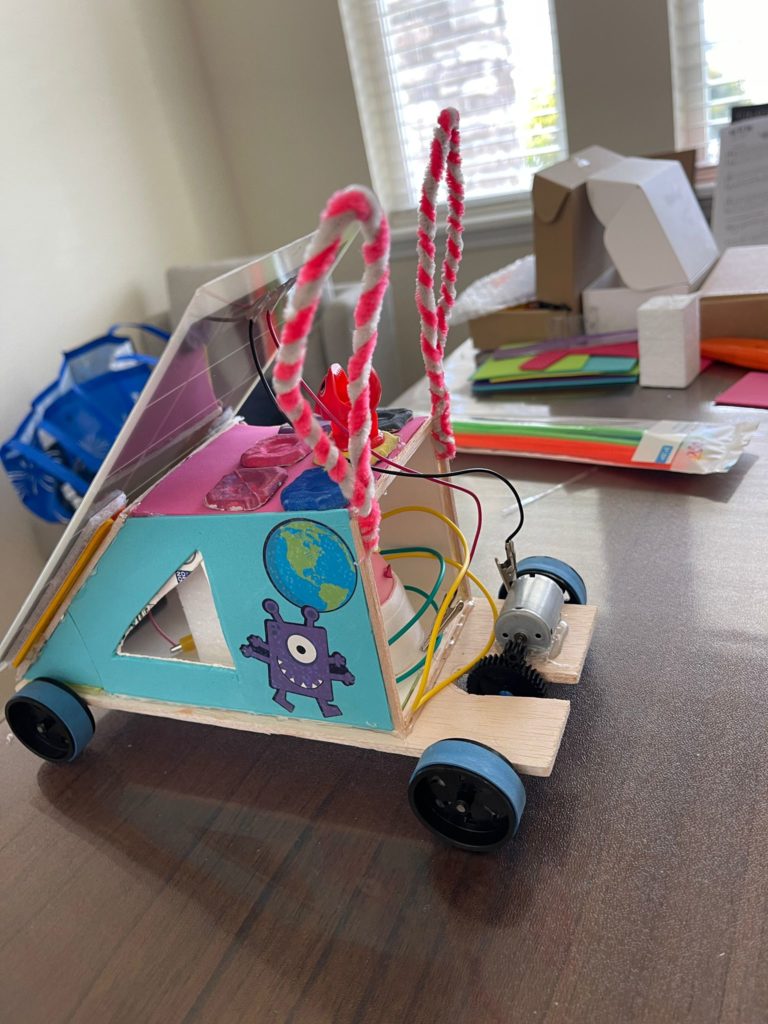
Description
Our team had an exciting and challenging time building a solar car for this competition.
Initially, we planned on using a Plastic Bottle for the main structure and cutting it in half to put everything inside, but it was hard to cut it. Also, we were thinking about using a lightweight material for the base, so we thought a piece of egg carton would work. While building it, we noticed the egg carton was very soft, so that it couldn’t hold the wheels and motor. That’s how we used a wooden base and a juice box for the main structure.
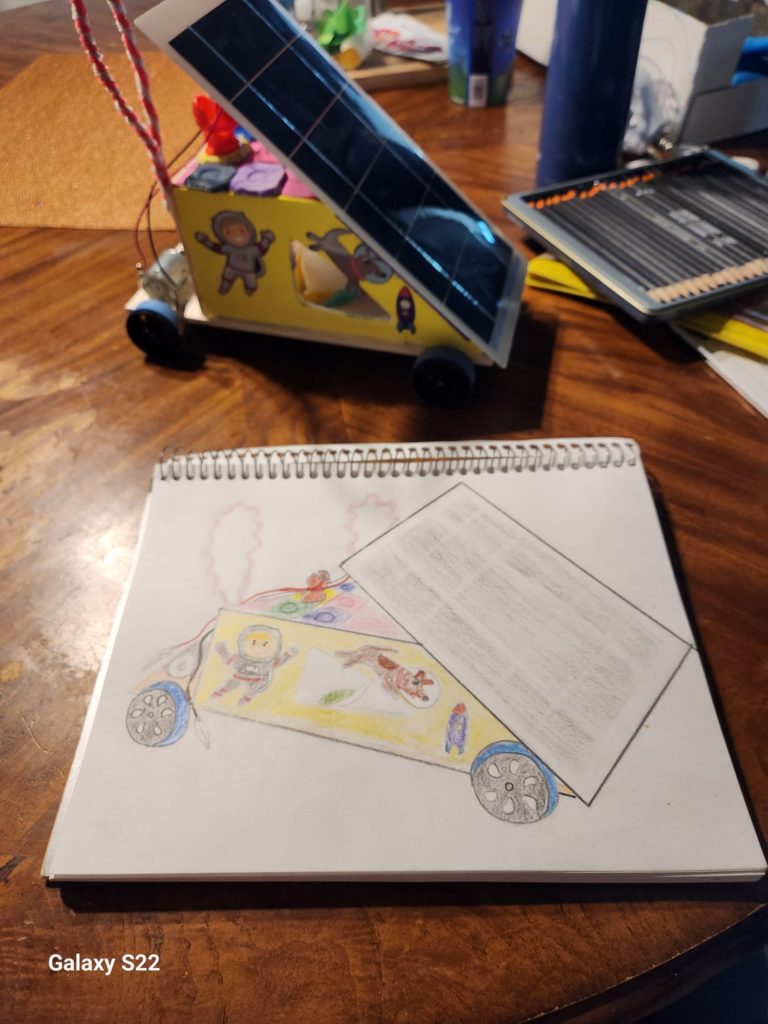
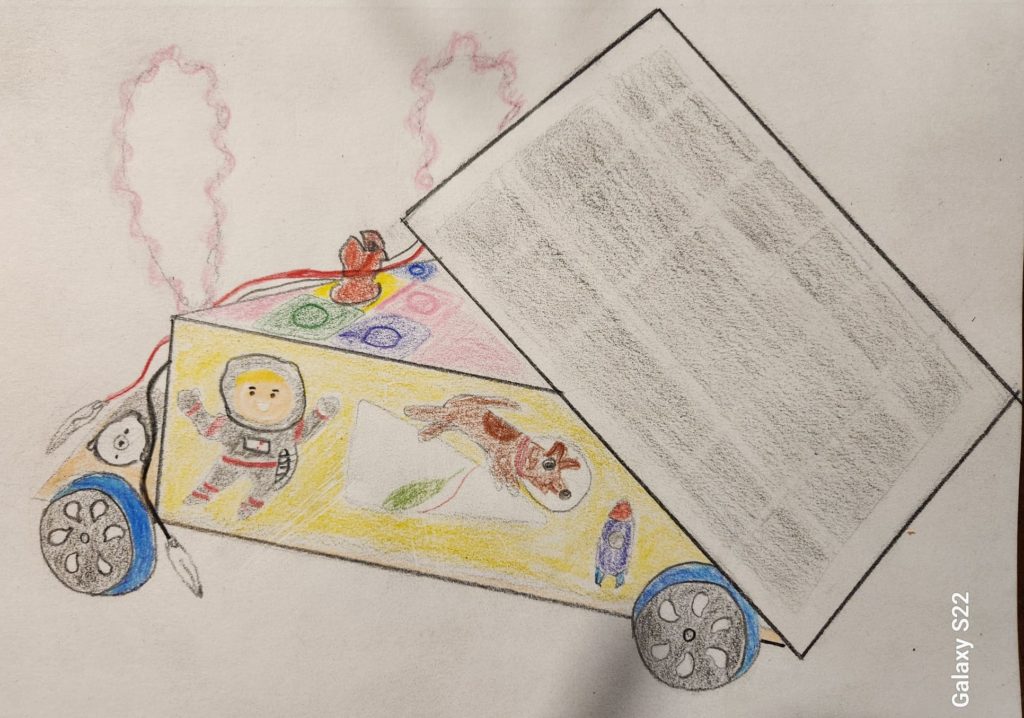

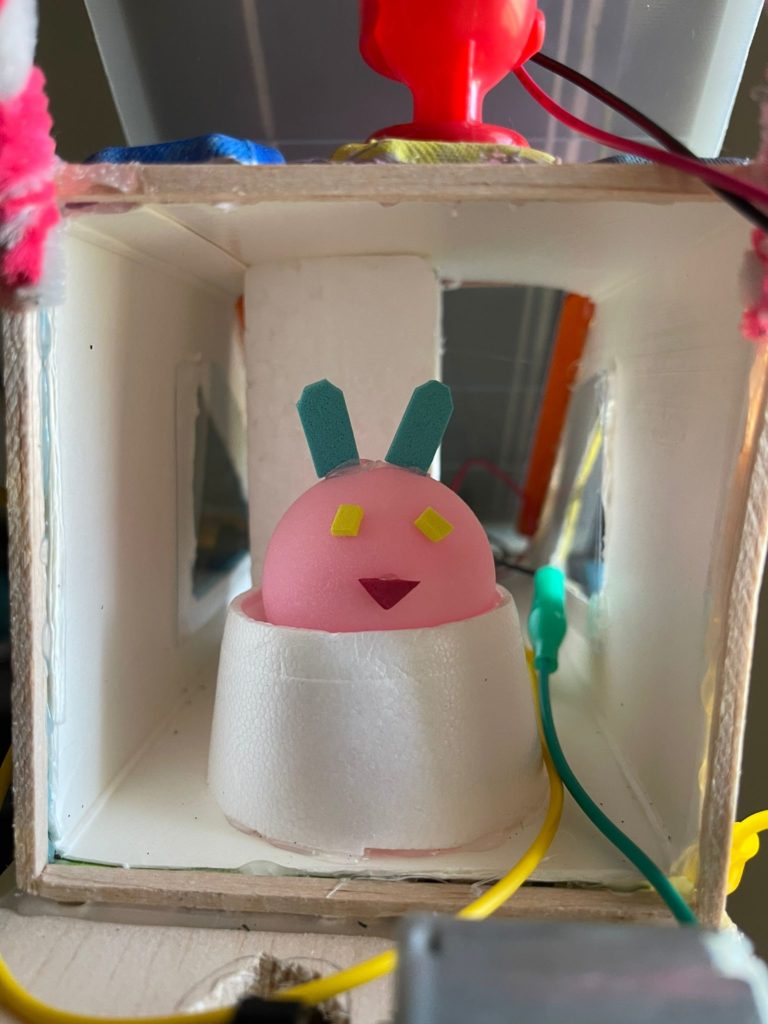
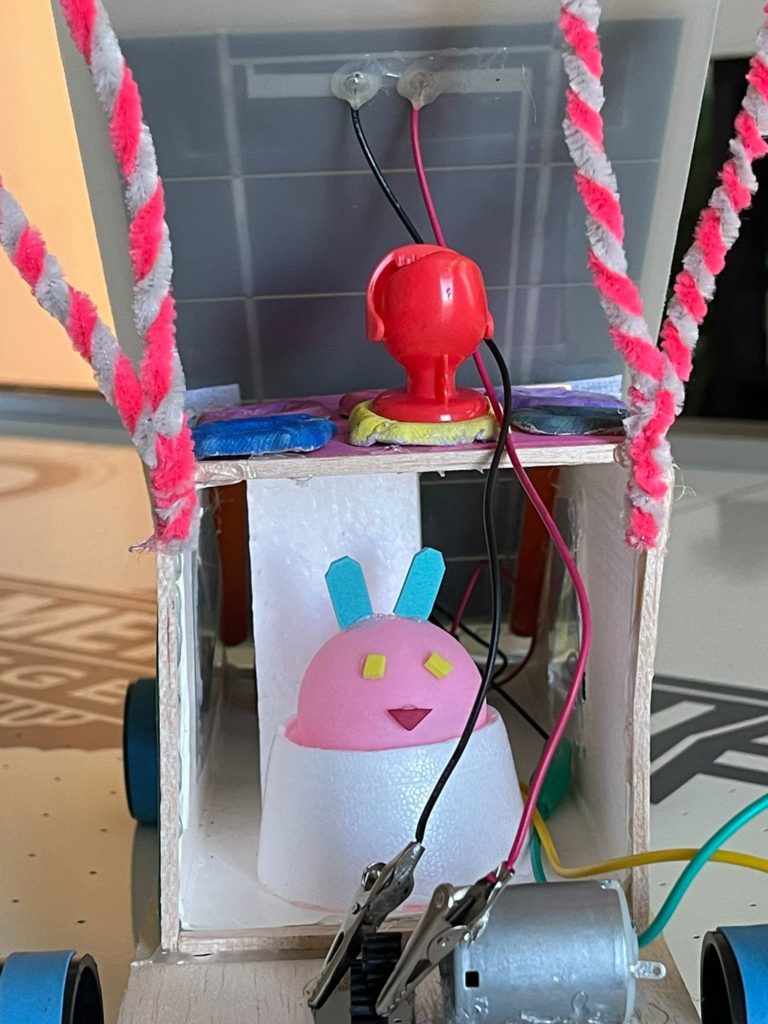
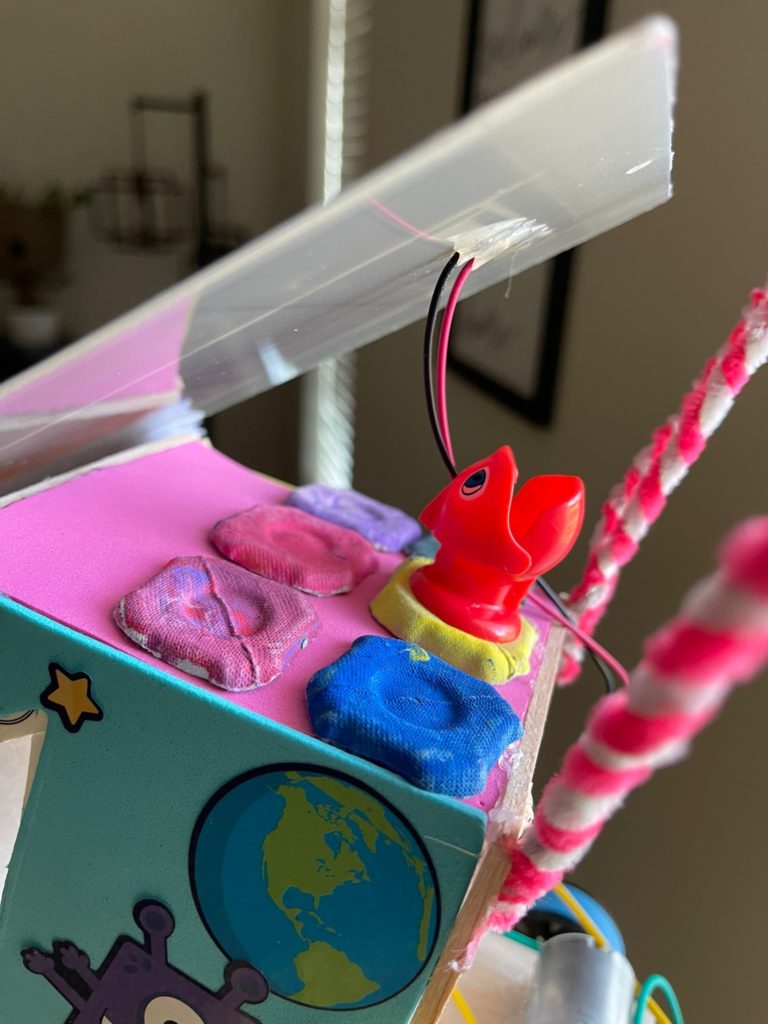
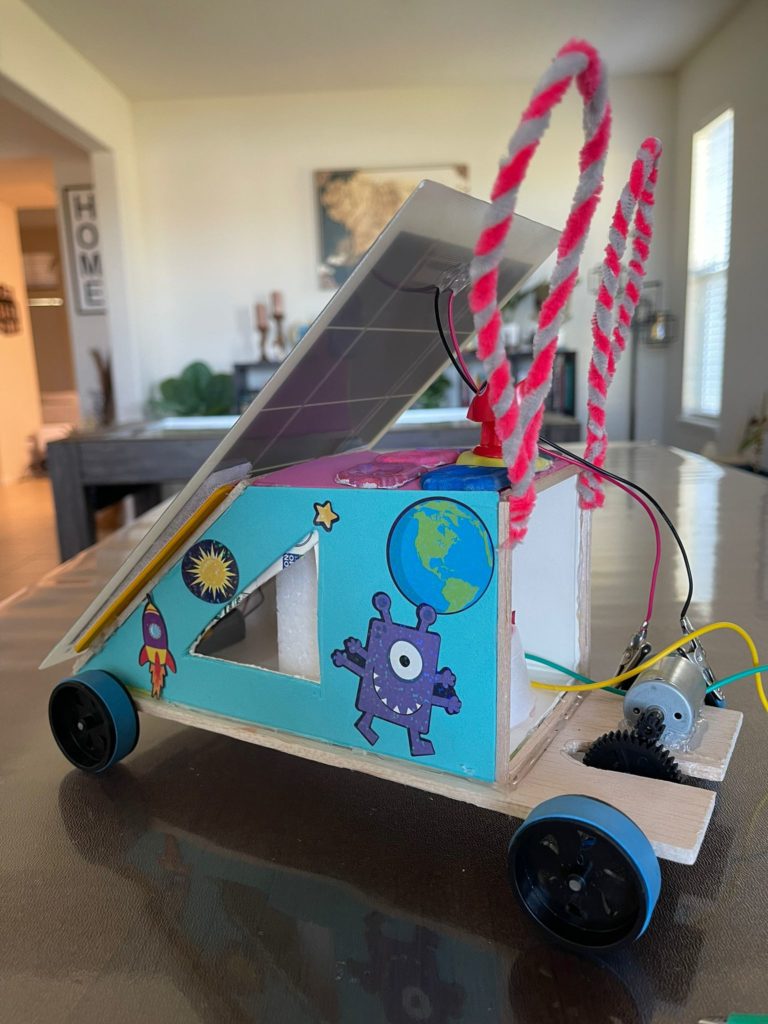
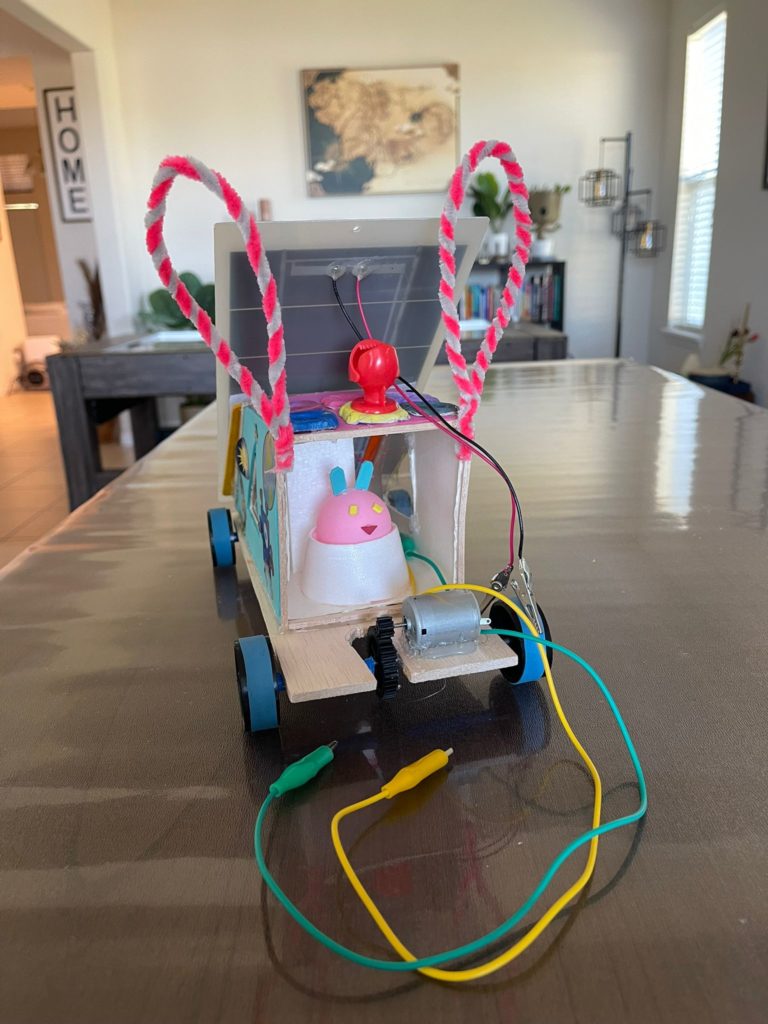
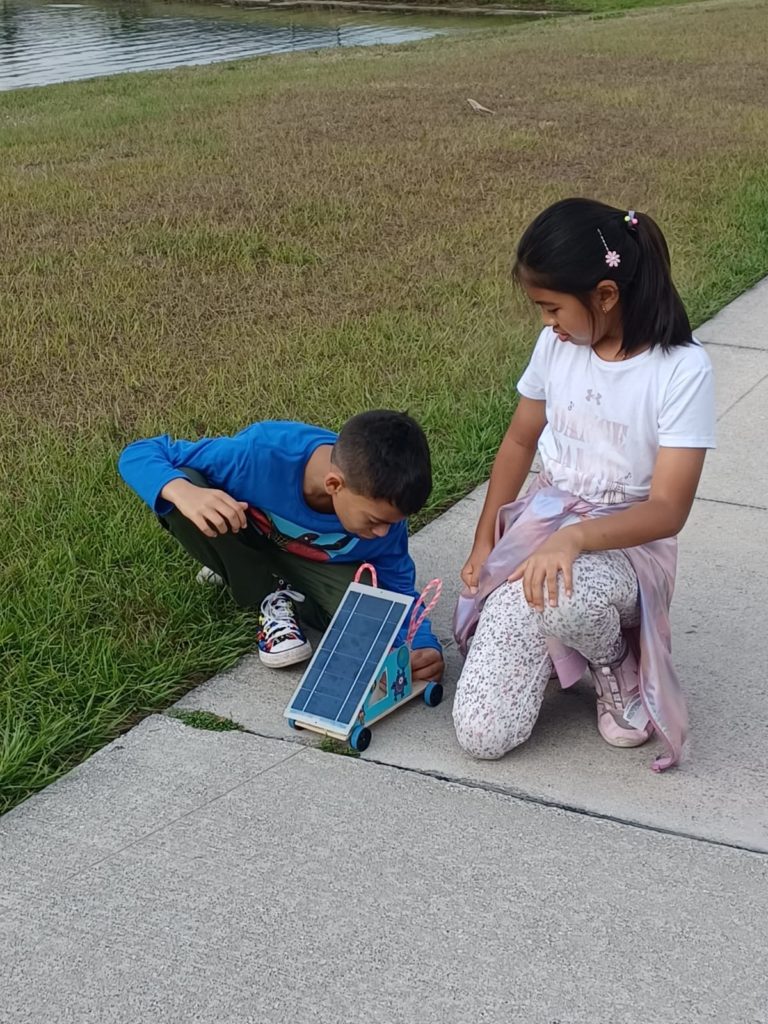
We used a recycled juice box securely glued onto the wooden base for the main structure. To give it a playful look, we covered the juice box with Easter colors foam and decorated it with stickers, carton egg pieces, and pipe cleaners for the big bunny ears.
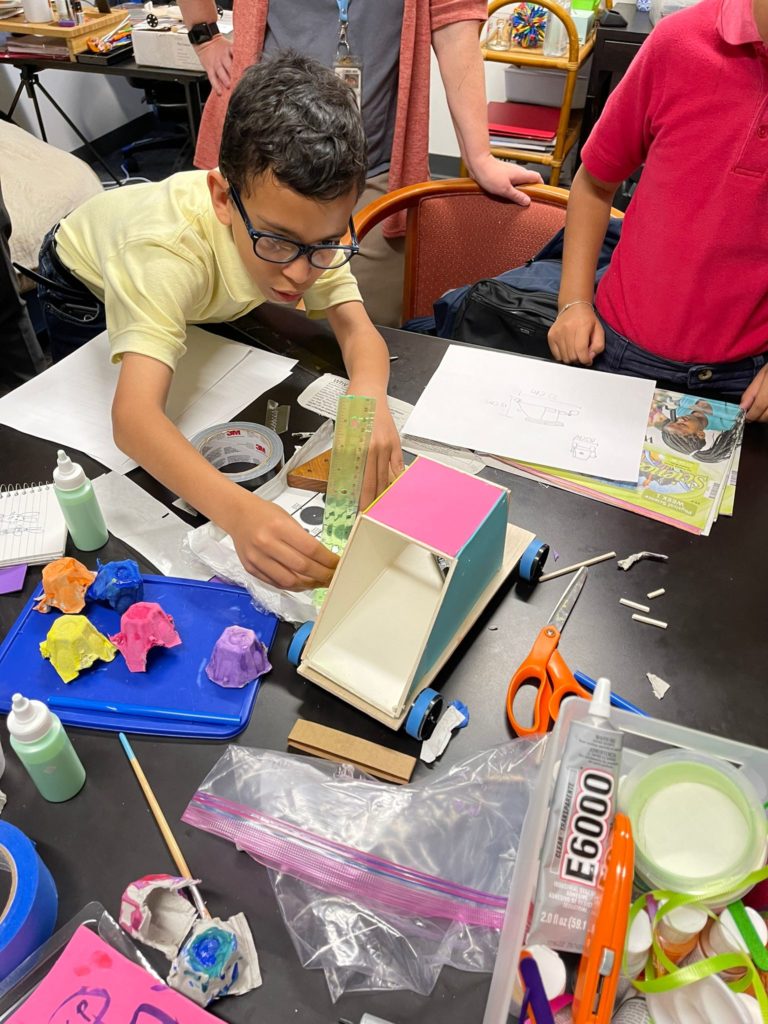
We added a half-styrofoam cup for the bunny passenger and a styrofoam column inside the juice box to ensure stability. We opened two windows on the juice box and covered them with clear plastic from a phone box to keep the car’s stability and protect the bunny from the wind.
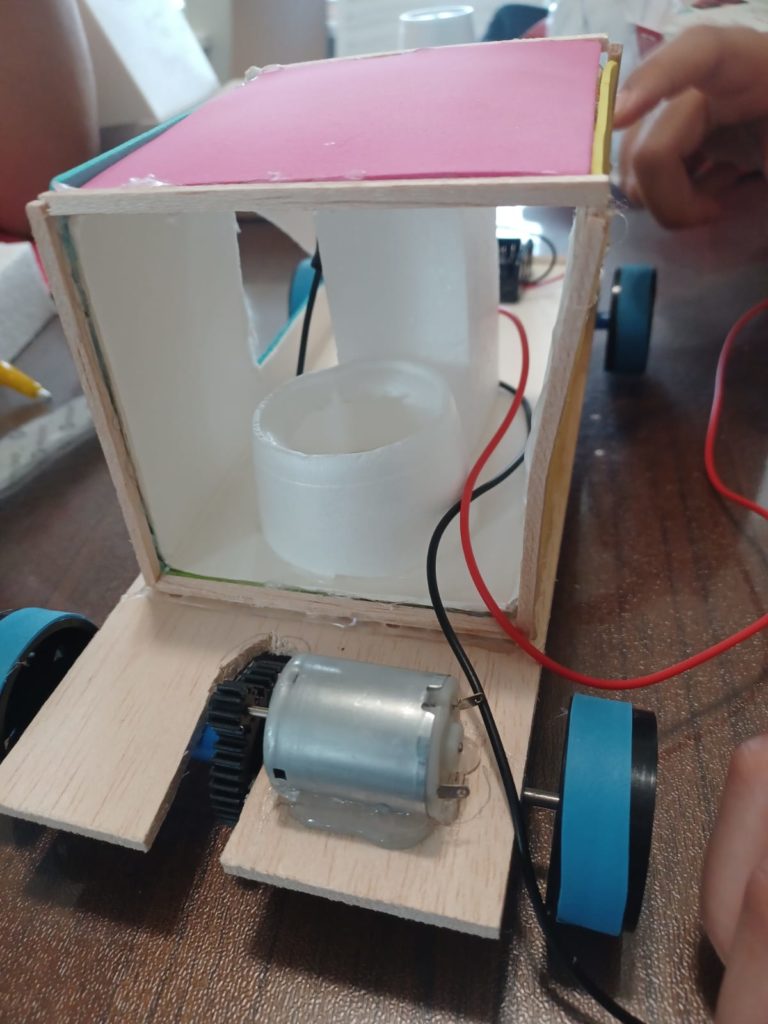

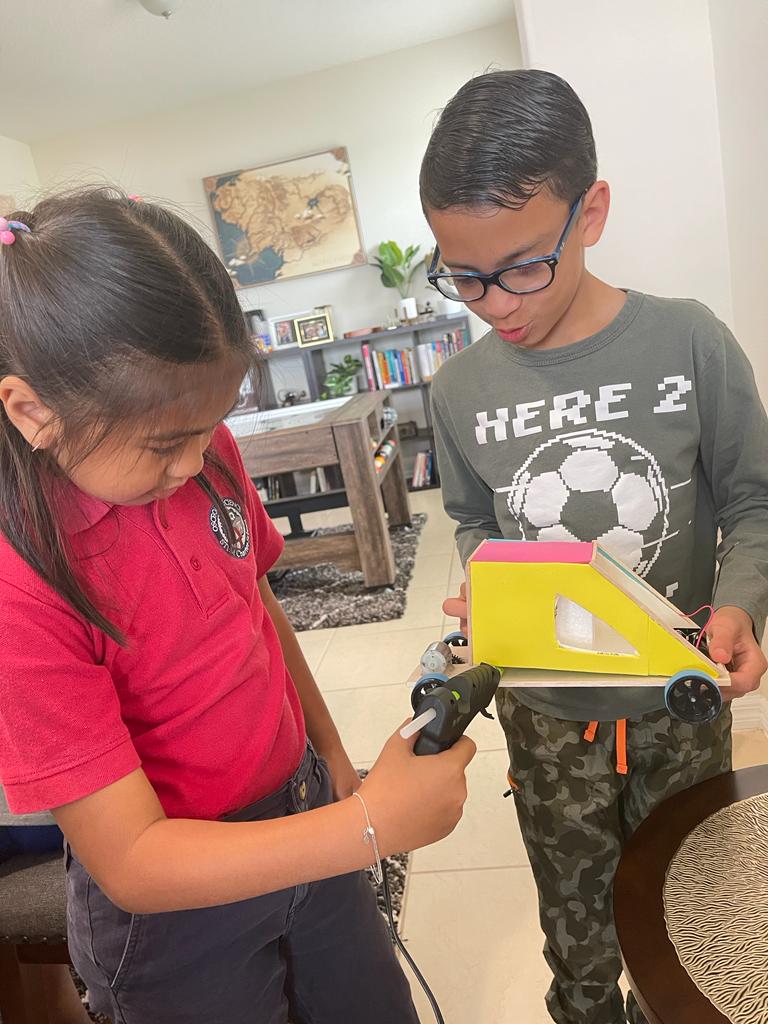
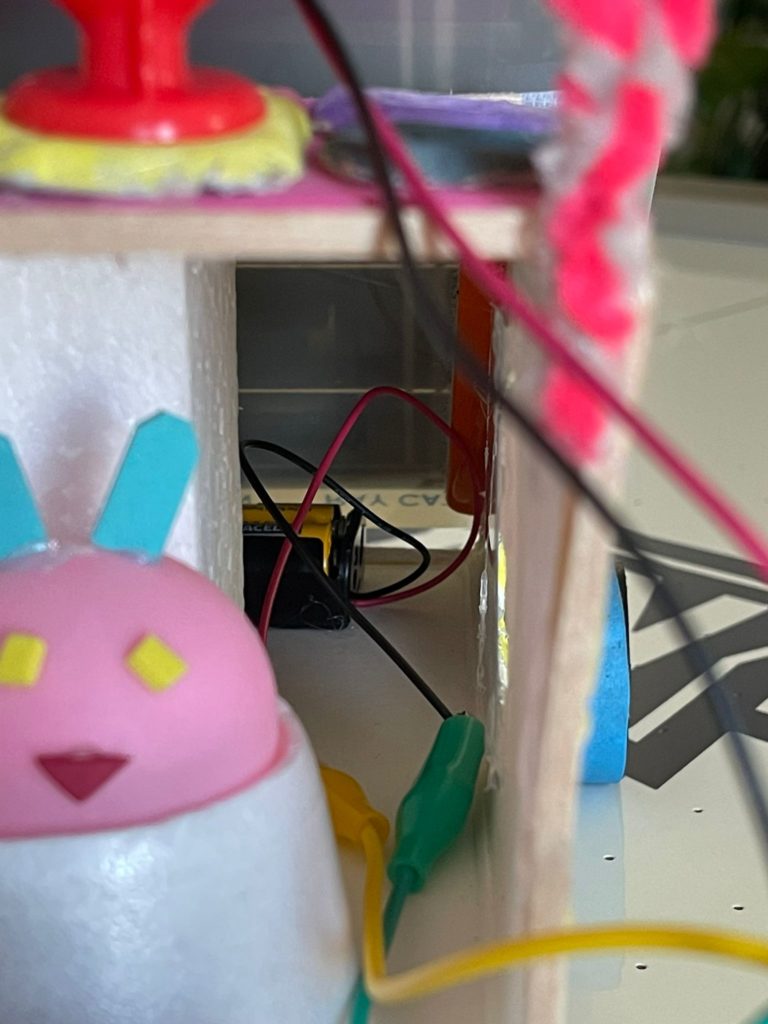
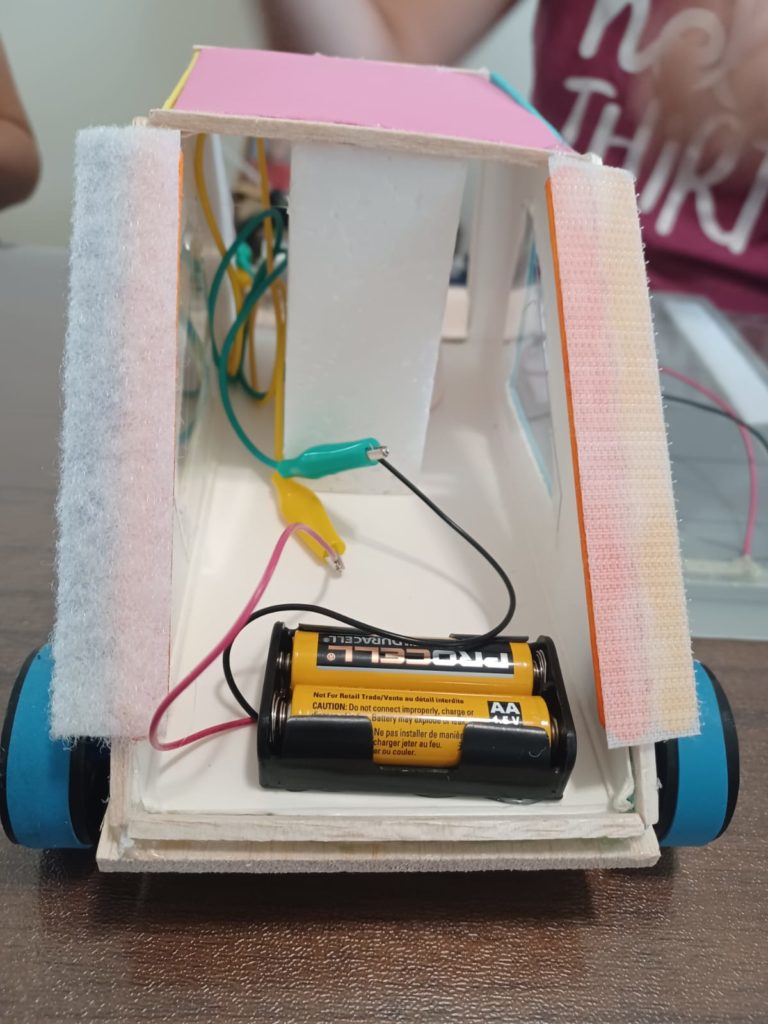
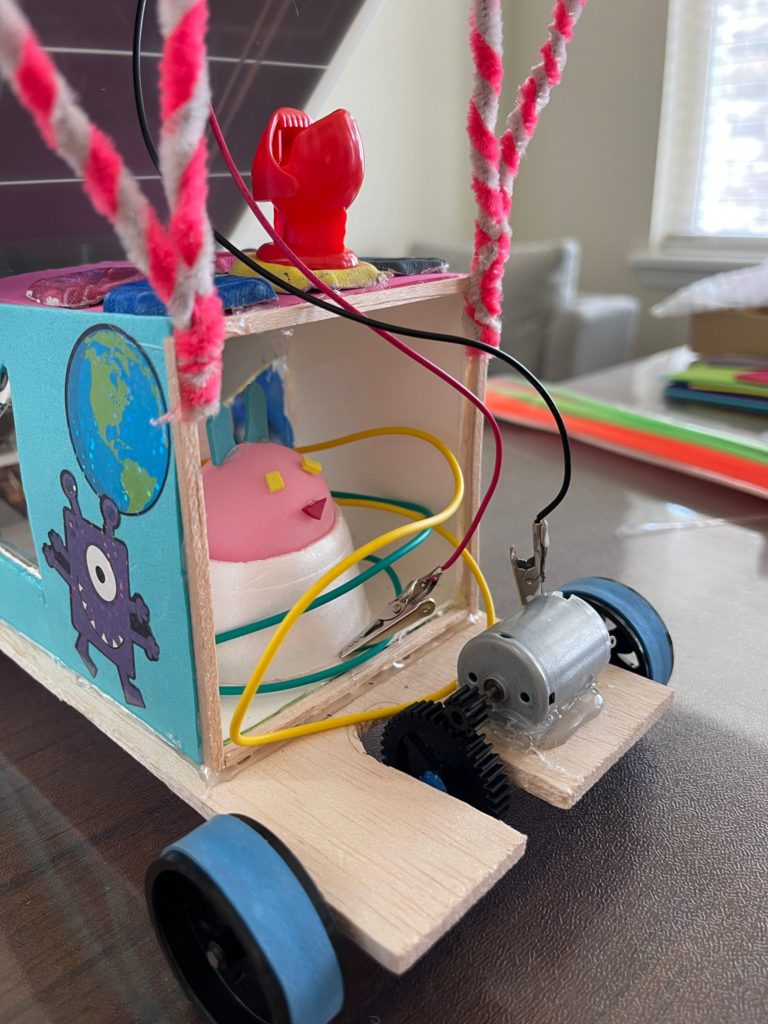
We used a DC motor connected to the solar panel (Black and Red Cables) and also added batteries to power the car on cloudy days (Yellow and Green Cables).
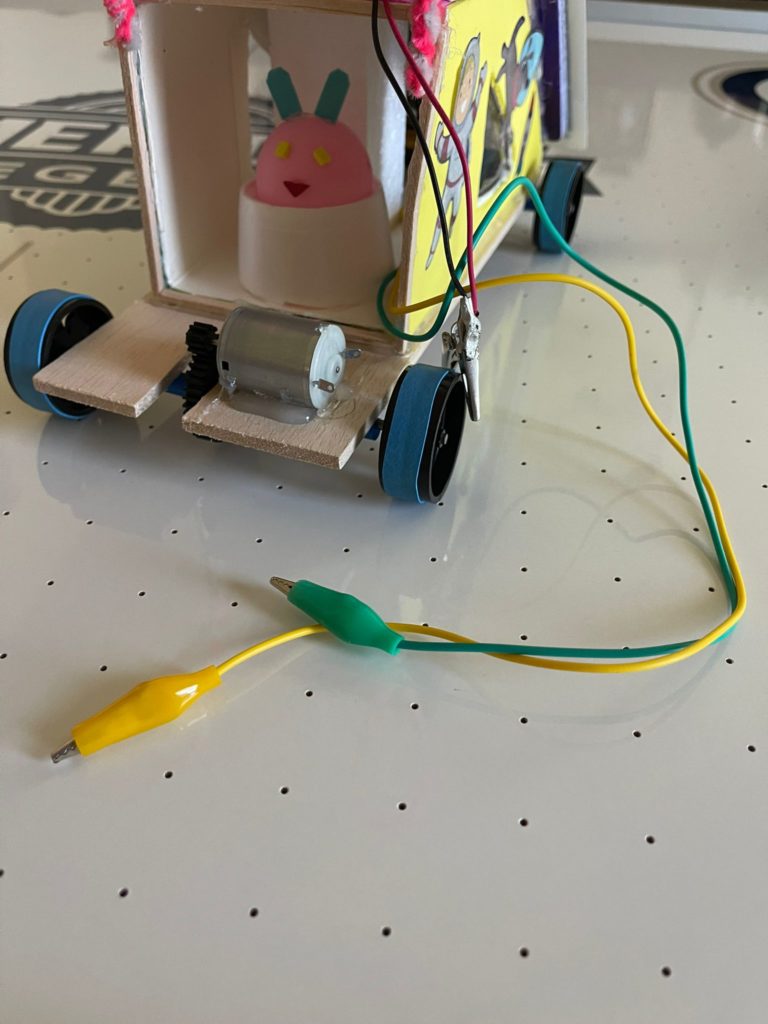
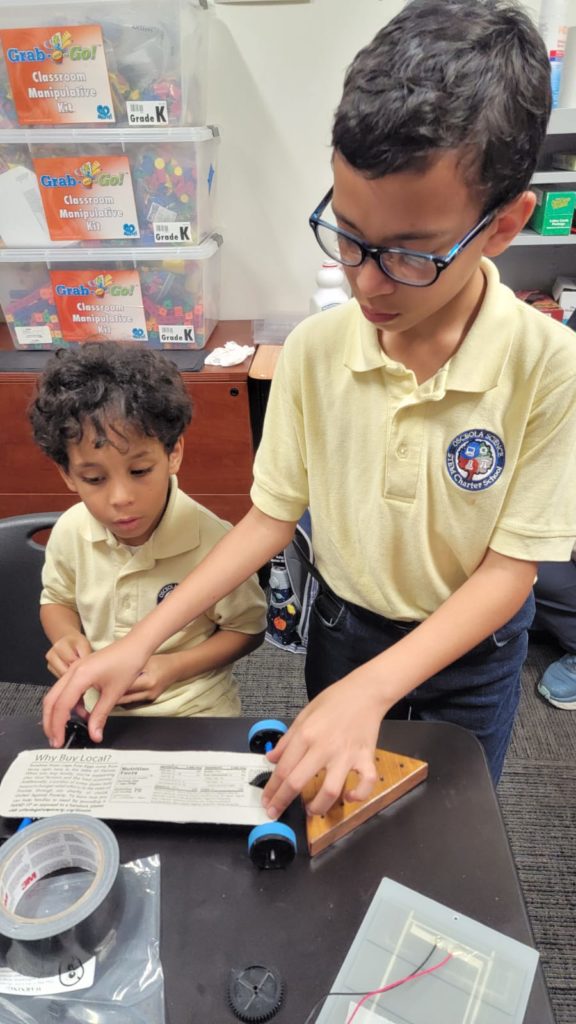
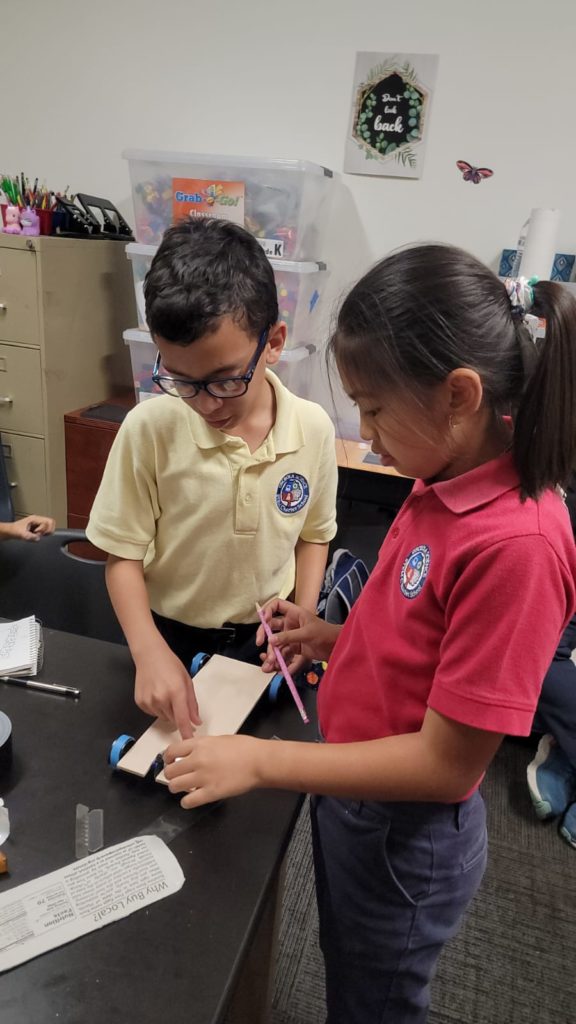
We attached four wheels, an axle, straw pieces to help move the car, and four rubber bands surrounding the wheels for better grip on the ground. We changed our design from using two different pairs of wheels to using all large wheels to ensure maximum performance during the displacement, whether the car runs forward or backward.
Initially, we planned to make the solar panel move toward the sun. Still, we discovered that changing the polarity of the cables could make the motor go backward, enabling us to change the car’s direction without having to move the solar panel.
We used hot silicon to attach a small shark in honor of our school.
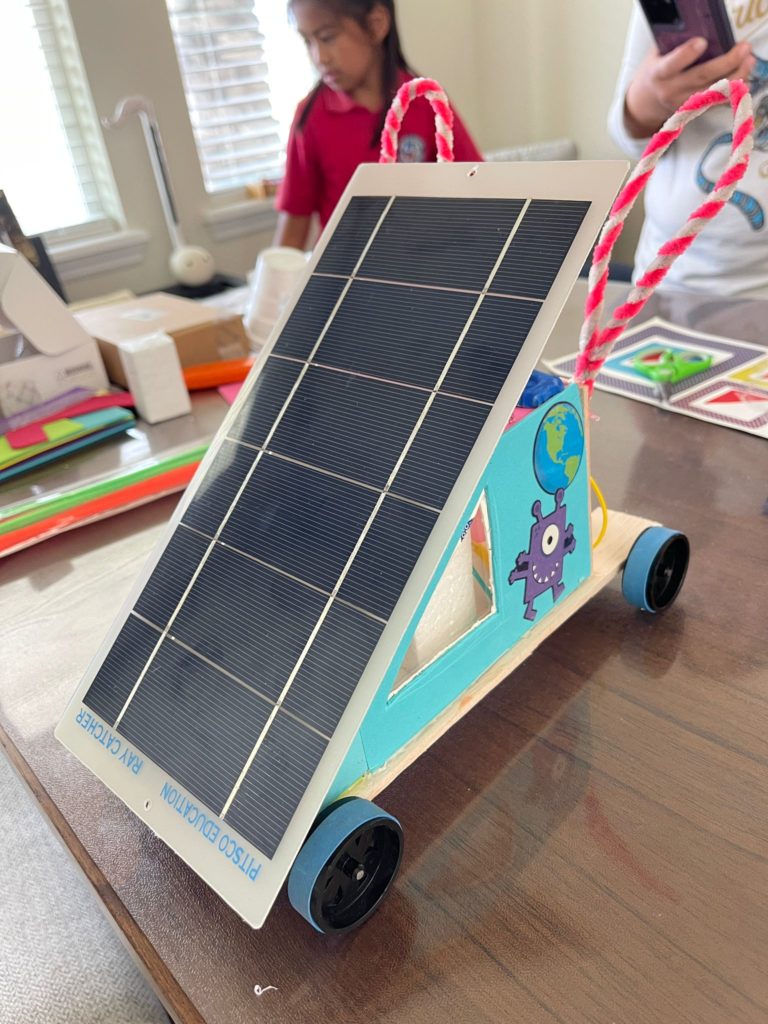
Finally, we used velcro over craft popsicle sticks to attach the solar panel to the car. That way, we could ensure it resisted movement while running and received enough energy from the sun.
Testing
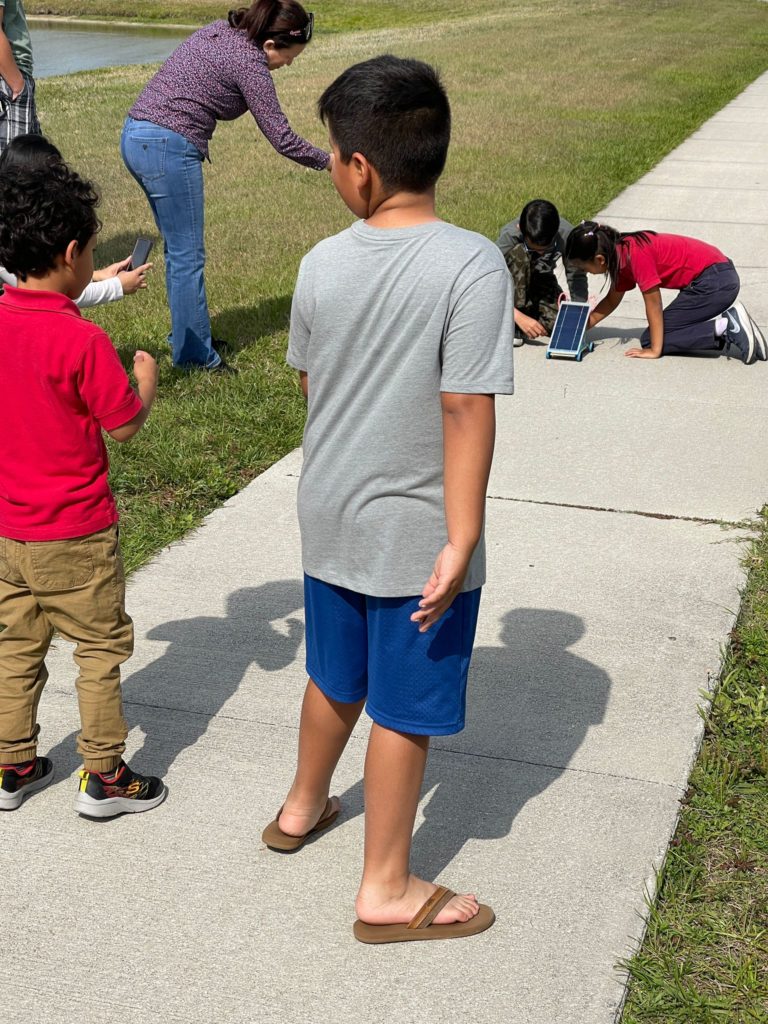

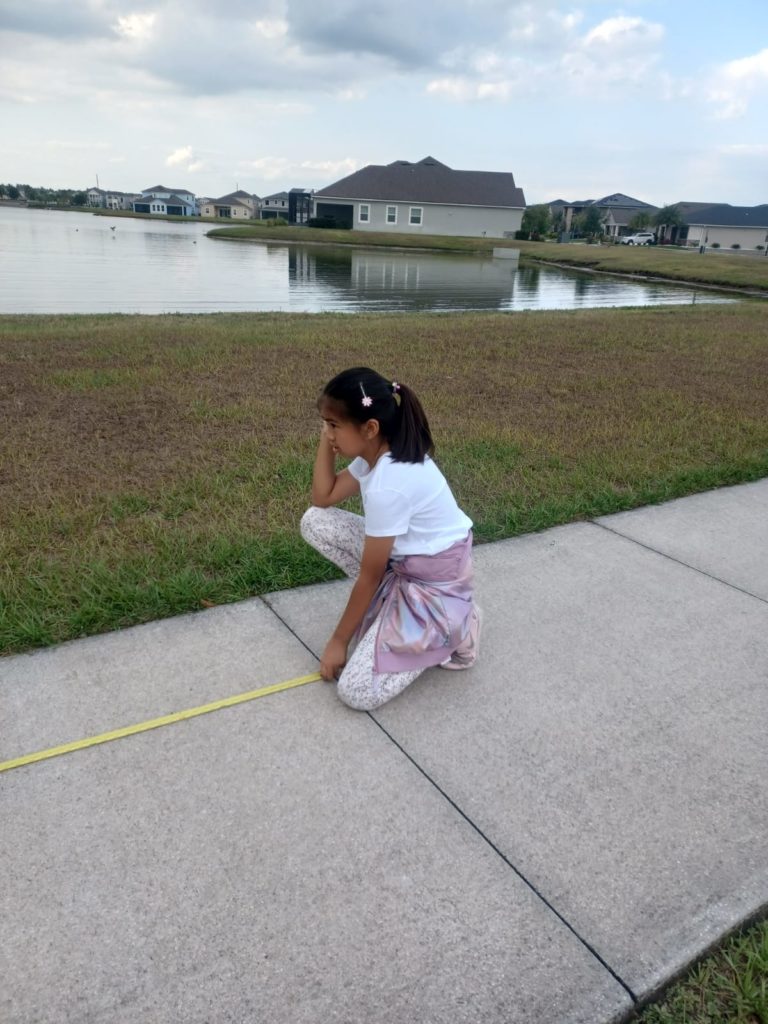
Final Video
Building a solar car was a challenging but fun experience for our team. We learned much about the materials and how to apply them to create a functional and appealing car. Thank You!
Wonderful job and very detailed! Congratulations!
The teamwork, planning, and execution of the solar powered car is nothing short of AMAZING! I can’t wait to see what else your team will do together! Good luck and remember to have fun!!
I love the decoration!!!
This has been quite the journey. For a team of varying ages, you all worked together very well and I could tell that you had a great time working on the project. I cannot wait to see it in person. Remember to pack your toolbox and be ready for on-the-spot issues that will come up. (That is how competitions go.) We will stay calm and work through any issues that arise. See you in sunny Cocoa!
You guys look so happy in the pictures & there are two videos which is very cool.