
Blue Neptune
Event Location: Cocoa-FL
Competition: Solar Energy Cook-Off
Division: 9-12
School: Lyman High
Team Size: 6
About Our Team
We are Blue Neptune! We come from Lyman High School’s sect of the Society of Women in Engineering club.
While Blue Neptune itself has never competed in the Solar Energy Cook Off, Lyman has competed in it and in Energy Whiz itself for the past 8 years. Last year, a team from Lyman placed first in all categories in the Solar Energy Cook Off.
Our Members are Asma S, Jess P, Madisen X, Valeria A, Brie W, and Bee R. All of us are Juniors in high school except Madisen and Jess who are Sophomores. None of us have competed in Solar Energy Cook Off before, so this year was a great learning opportunity for us all!
About Our Oven
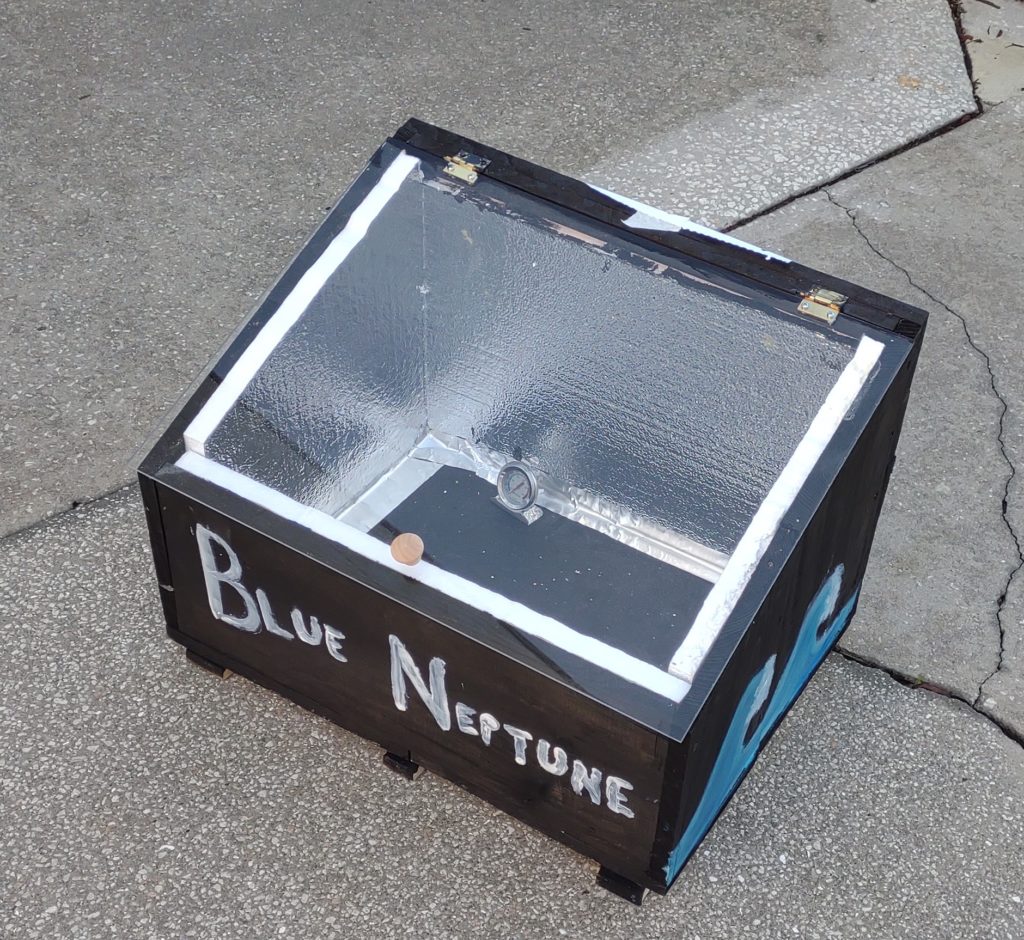
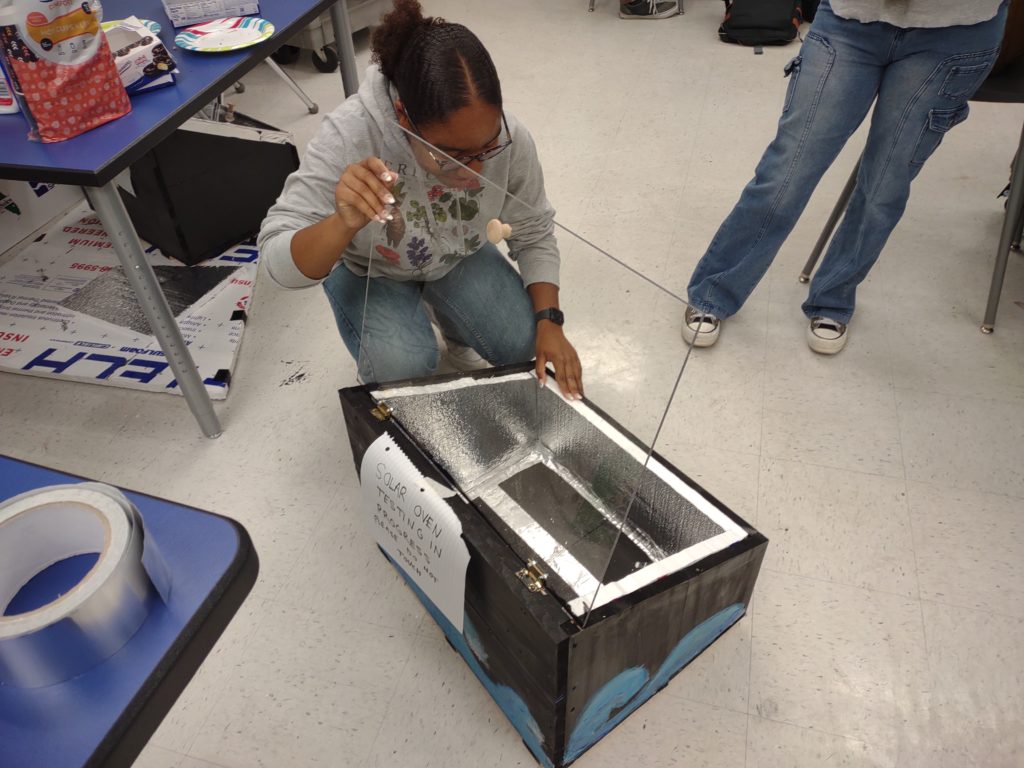
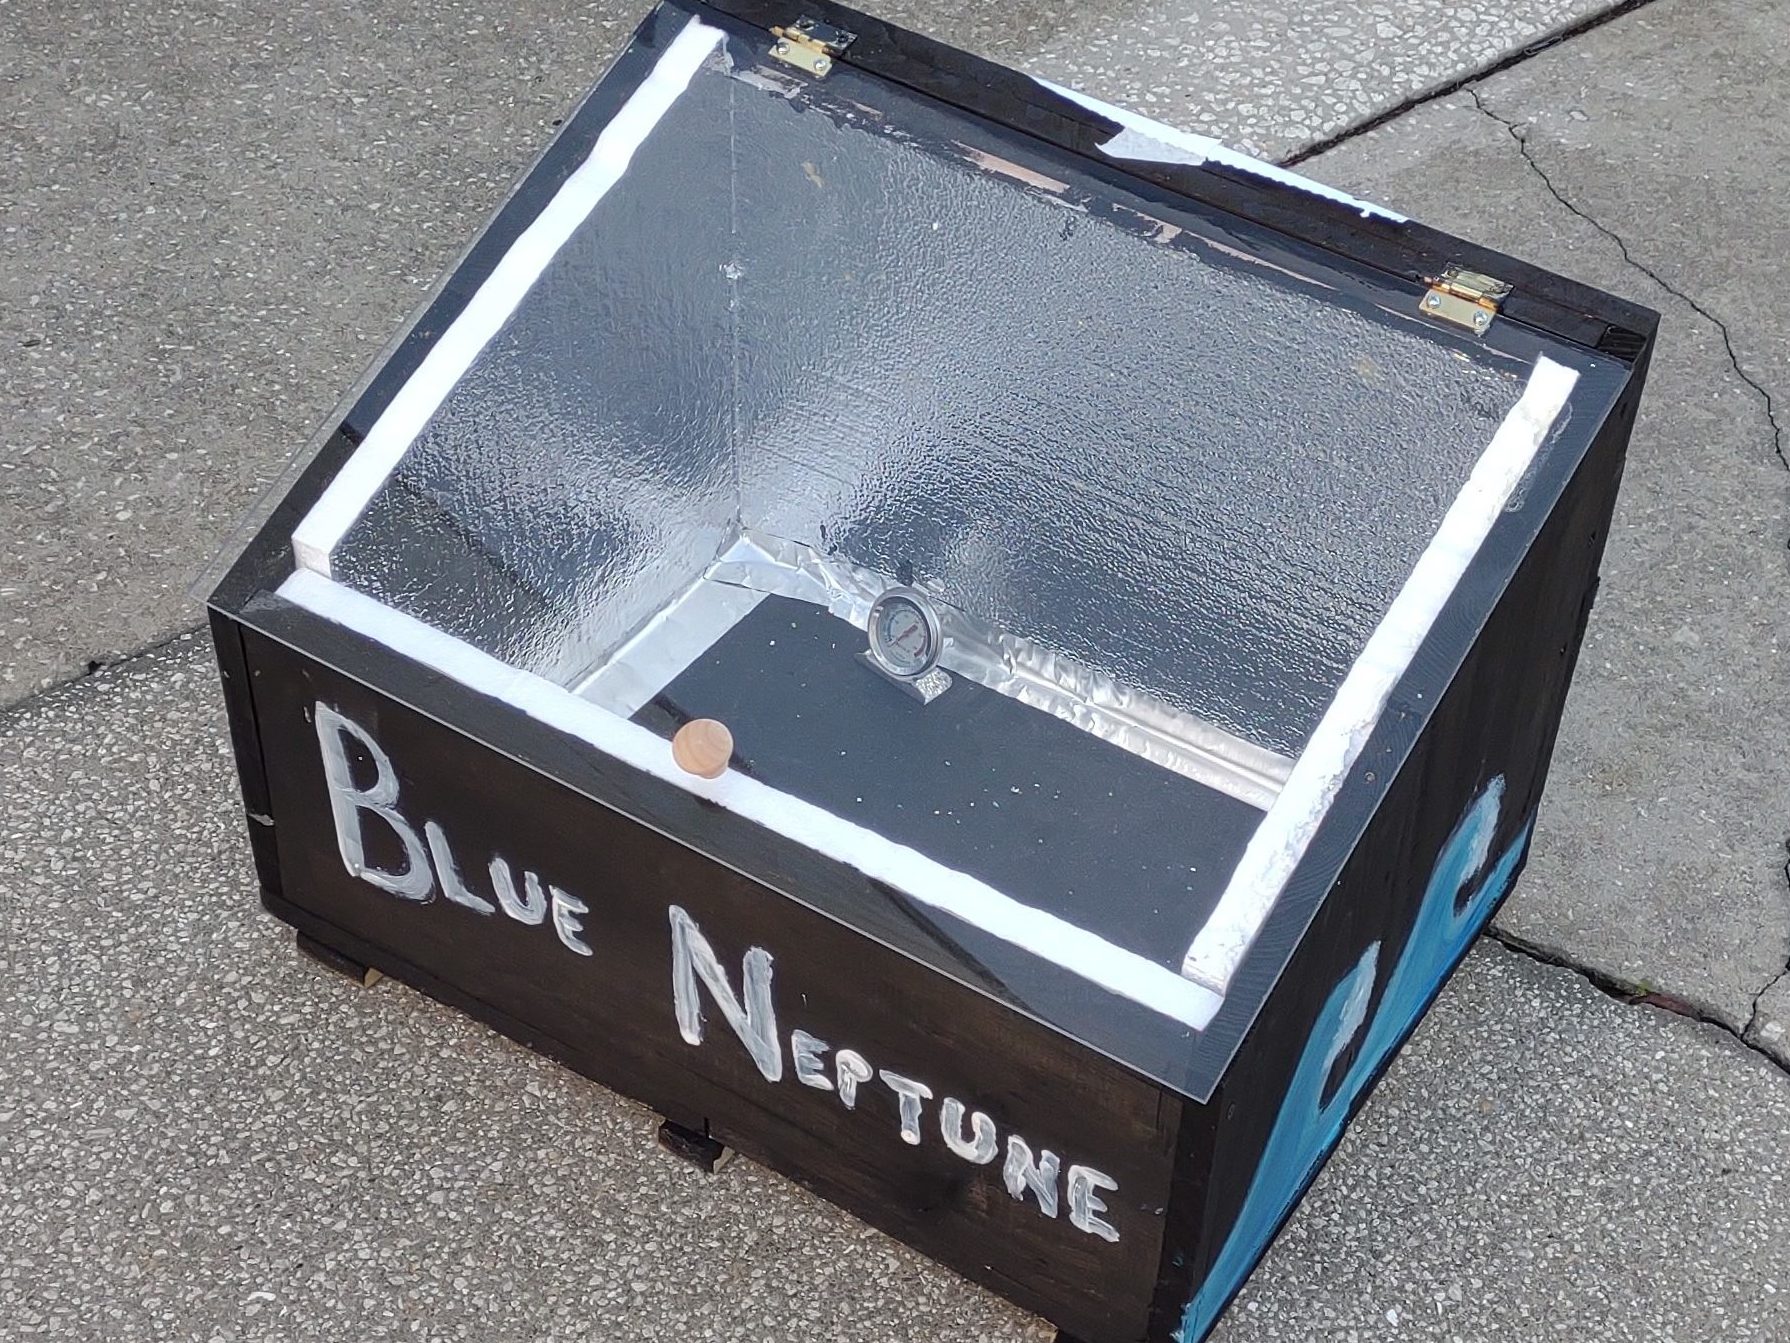
Our oven is a wooden plywood box with a clear acrylic lid attached with hinges. We painted the box black to absorb more light and heat and we lined it with reflective insulation both to reflect more light inside the box and to keep the heat trapped in. We also filled edges and lined with aluminum and aluminum tape to seal in the heat and reflect more light. The insulation was cut to fit the box and attached with glue spray.
Our teacher, Mrs. Davis helped us gather materials and helped create the base plywood box that we modified. She supplied us with the insulation, paint, aluminum, and all of the tools we used to modify the box, such as box cutters and paint brushes.
The Cooker Itself:
Our cooker was created to be compact and portable enough to move around, so the plywood box was very light. The clear lid was used to allow light in and we made our various modifications to help increase the light and heat that would reflect inside the box. The lid was also created at an angle so it could face East while the sun was rising until noon when it would be overhead. That way, we minimize the amount of shadow that could be cast into the box by the box itself.
Our Modifications (And Why We Made Them!):
When we originally started, all we had was the plain plywood box with a clear acrylic lid. We knew we wanted to paint it black on the outside so the box could absorb all wavelengths of light and convert them to heat, rather than reflecting some light away. We also knew that keeping the heat withing the box was going to be our biggest issue.
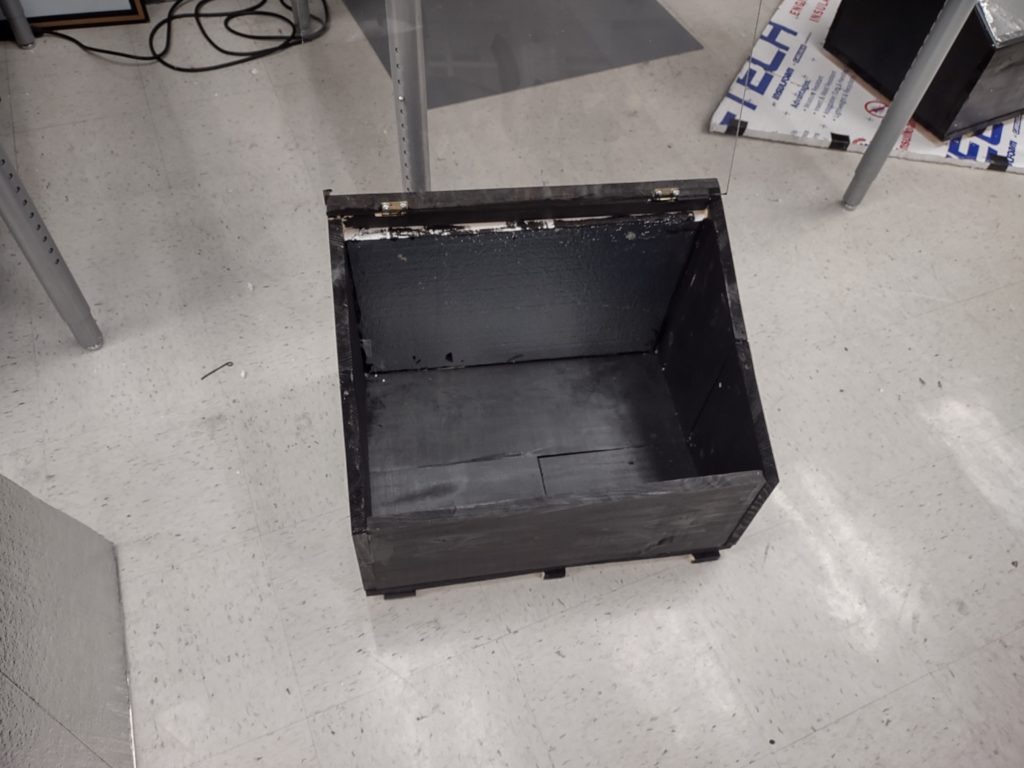
The first thing we did was paint the entire box with black paint, inside and outside, which Madisen mainly helped with! We then started lining the inside by cutting insulation pieces to glue to the walls, which Jess helped with. We used water based, food safe paint in our cooker oven.
Wood alone is a thermal insulator. Air pockets inside the wood allow it to retain heat without conducting it as much. This is why wood is often used in home construction to lower the need for artificially controlled temperatures. Despite this, we wanted to add Engineered Insulation to the inside because the wood was split in areas and it was not an airtight box. We knew that adding the insulation would help cover some of the cracks and splits in the wood and also increase the overall heat retention properties of the box.
This was an especially important step because we also learned that as wood absorbs moisture and humidity, its insulation properties worsens, and while we are cooking, the inside of the box would get humid.
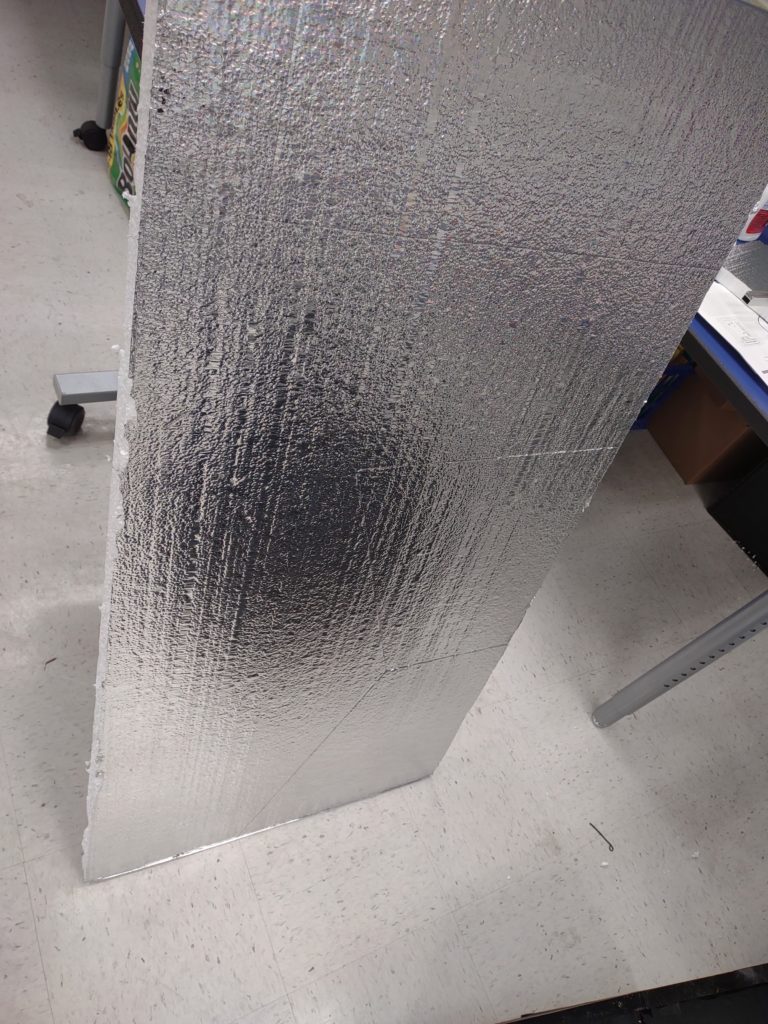
The insulation is also reflective, which allows the light that enters the box through the acrylic to be reflected around the box onto the food and pans we are cooking with, rather than being absorbed into the wood. So, we have a dark bottom of the oven so heat can be absorbed and transferred to the pans via conduction, but we also have reflective sides so that any light cast on the sides can be redirected back onto the pans to be converted into heat.
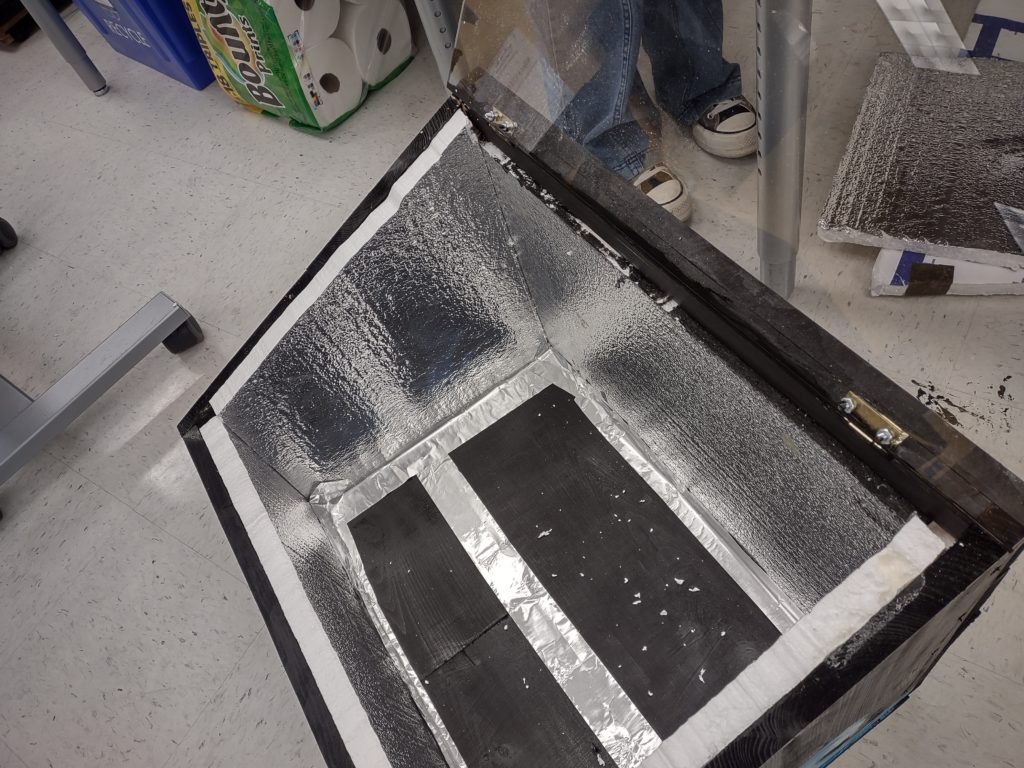
After we added the insulation, we realized that there were still places the heat could escape through the bottom or through the places where the insulation met, so Jess took reflective aluminum tape and lined the edges of the box as well as covered any holes through which heat could dissipate.
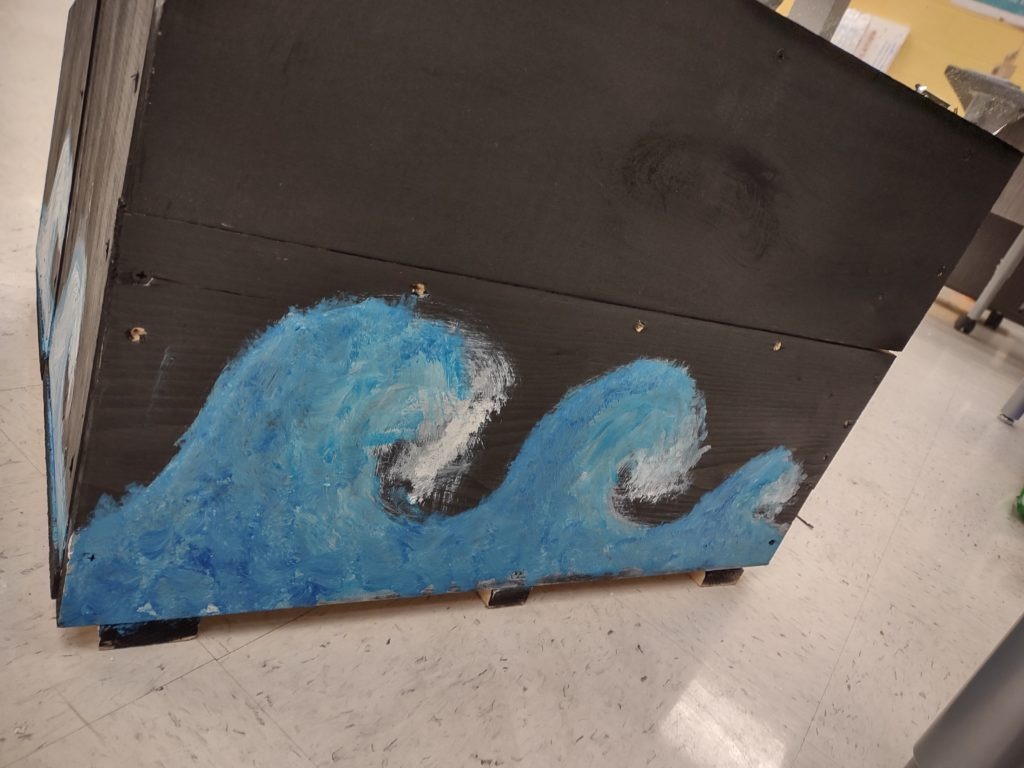
Lastly, we knew we wanted to add some personality to our box, since we were very proud of it, so Madisen and Valeria helped pain waves on the sides of our box to tie in with our name, the Blue Neptune! The design sets our box apart and makes it its own! We also got to discover that some members of our team are very talented artists.
Supplies:
- 1 inch thick pine plywood
- Clear acrylic sheet, 1/12 inch thick
- Brass hinges
- Screws
- Paints in black, light blue, dark blue, and white
- 1.5 inch thick foam reflective Engineered Insulation
- Reflective aluminum tape
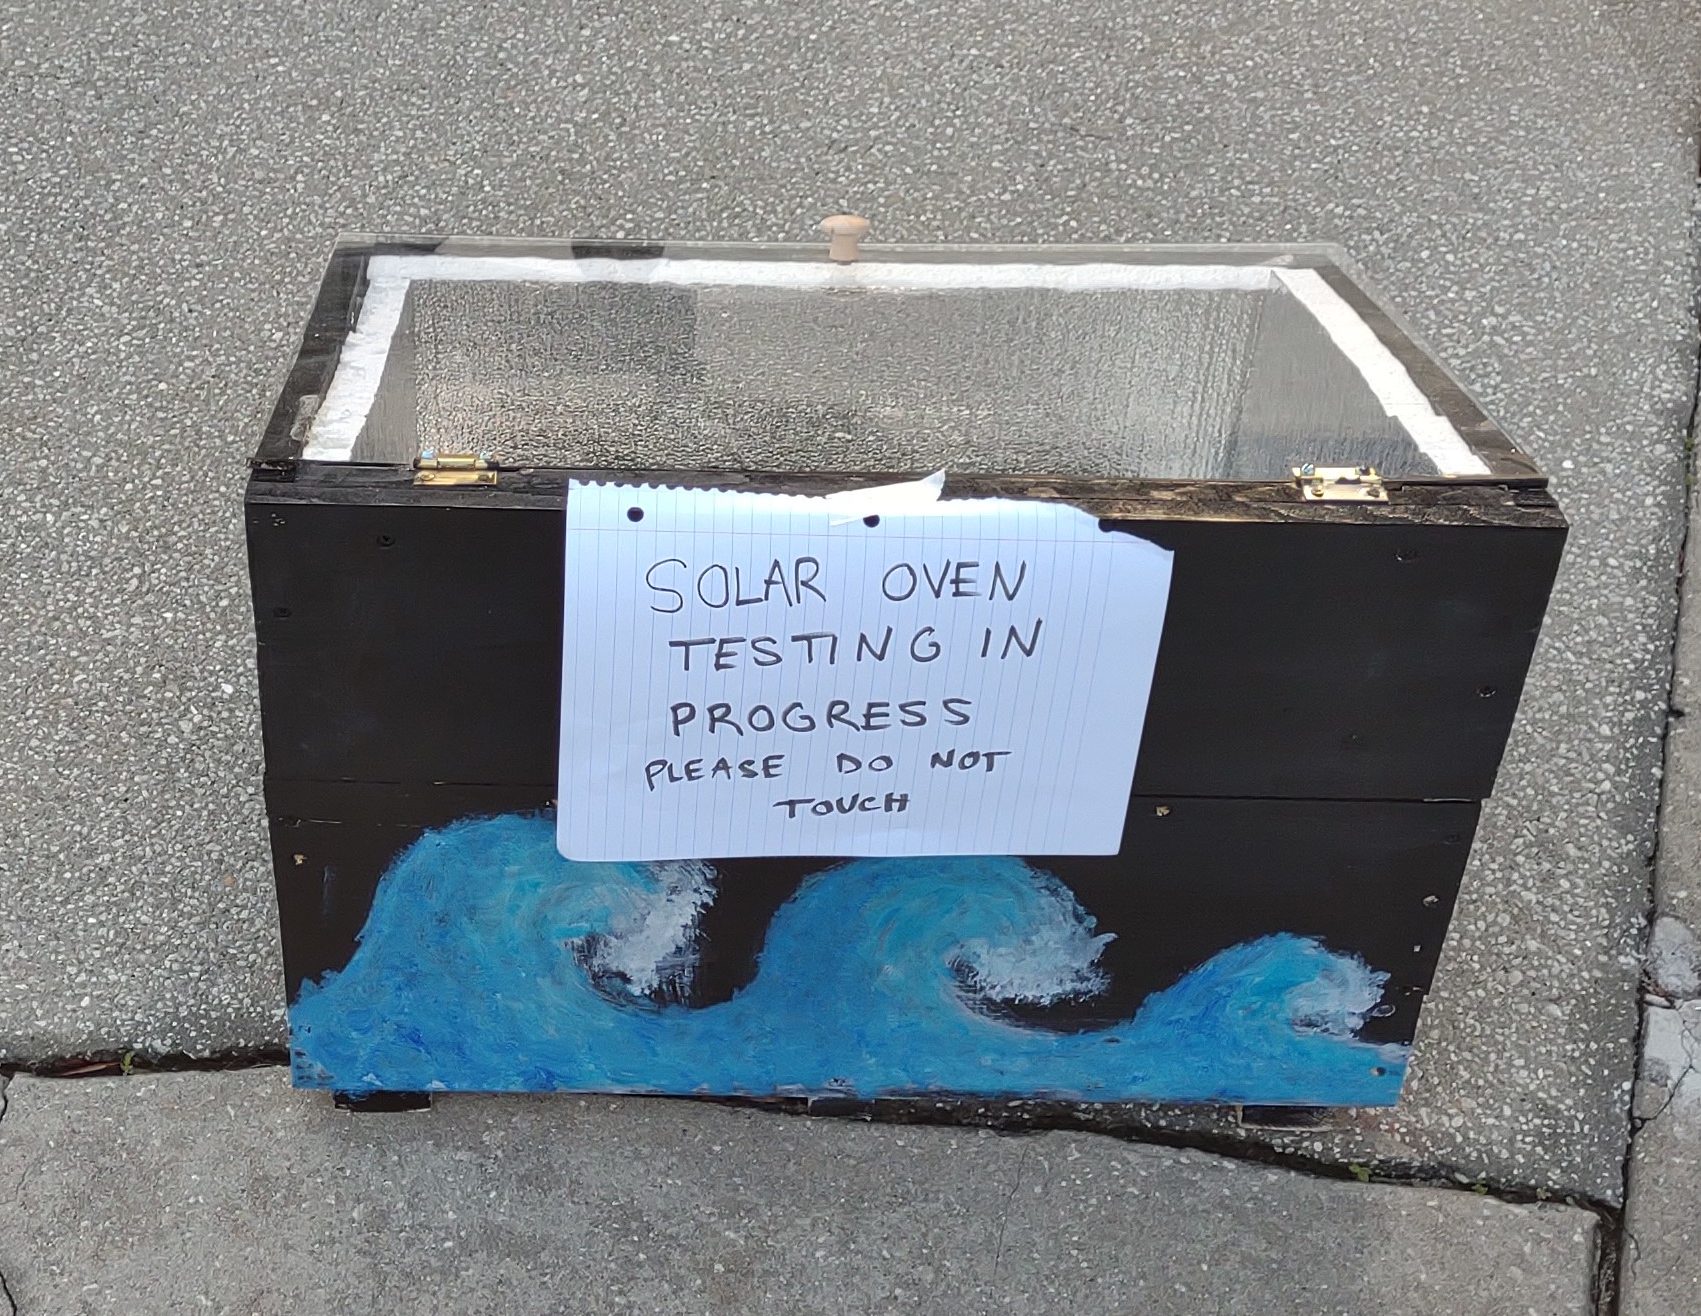
Testing
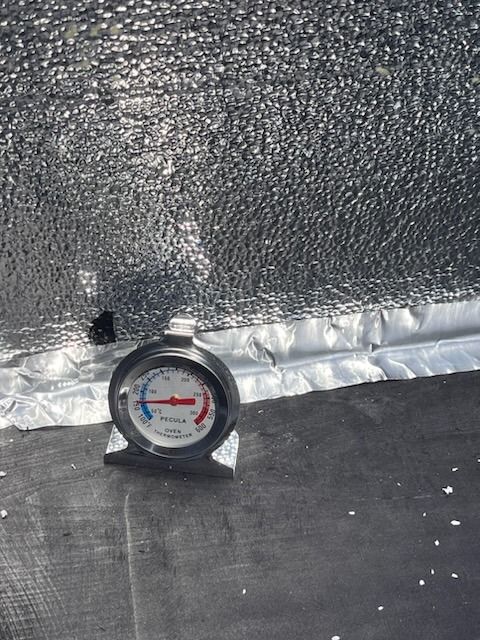
We tested on April 16th, from 7:30 am to approximately 11:30 am. It was sunny outside with very little cloud cover, and the box was in an open, unshaded area facing East. Our highest recorded temperature was (150 F).
Describing Our Project:
Recipes:
For our recipe, we wanted to make something that was suited well for a solar energy oven. We knew that weather conditions and placement could vary on the day of the competition, so we chose something seafood because seafood has to be cooked to 145 degrees Fahrenheit to be safe for consumption, while some meats may need to be cooked to 155 or 165 degrees for upwards of 17 minutes. Though we reached far above these temperatures during testing, we wanted to ensure complete food safety, so we chose seafood. All of our members submitted a recipe of their choice, which we then voted on down to 2 recipes, then we took a final vote and chose a Salmon and Potato Roast as our final recipe!
Ingredients:
- 2 cloves garlic, grated or finely chopped
- 1 tsp. crushed red pepper flakes
- 1 tsp. finely grated lemon zest
- 1 tsp. ground coriander
- 1 tsp. ground cumin
- 1/2 tsp. paprika
- 1/3 c. plus 1 tbsp. extra-virgin olive oil
- Kosher salt
- 1 (1-lb.) skin-on salmon fillet
- 1 1/2 lb. baby potatoes, halved
- Freshly ground black pepper
- 3/4 c. plain Greek yogurt
- 2 tbsp. chopped fresh dill, divided
- 2 tbsp. chopped fresh parsley, divided
- 2 small shallots, sliced into 1/4″ rings
- Lemon wedges, for serving
Directions:
- Arrange a rack in center of oven; preheat to 450°. Place a large cast-iron skillet on rack.
- In a small bowl, combine garlic, red pepper flakes, lemon zest, coriander, cumin, paprika, 1/3 cup oil, and 1/2 teaspoon salt. Generously season salmon on both sides with salt and place in a shallow container. Pour half of marinade over salmon; set aside.
- In a large bowl, toss potatoes with 2 teaspoons salt, a few grinds of black pepper, and remaining 1 tablespoon oil. Carefully remove skillet from oven. Arrange potatoes cut side down in skillet and roast 20 minutes.
- Meanwhile, in a small bowl, combine remaining marinade, yogurt, 1 tablespoon dill, 1 tablespoon parsley, and a pinch of salt; set aside.
- Remove skillet from oven. Using a spatula, pile potatoes to one side or create a space in the center of skillet. Arrange salmon skin side up next to potatoes. Scatter shallots around salmon. Roast 6 to 7 minutes, flip salmon, and continue to roast until salmon flesh easily flakes and skin is crisp, 2 to 3 minutes more.
- Top with remaining 1 tablespoon dill and 1 tablespoon parsley. Serve with lemon wedges and reserved yogurt sauce alongside.
I enjoy how you used so little materials and still achieved something great.
Great work , your project is nice and i love it have a great day
Impressively compact design and sleek setup which seems very professionally made.
This looks really cool and efficient. If electric ovens didn’t exist your oven would be one of the best.