
The Solar Whiz
Event Location: Orange County STEM Saturday
Competition: Junior Solar Sprint
Division: 4-6 (JSS Green)
School: Rock Lake Elementary
Team Name: Solar whiz
Project Name: The Solar Whiz
Team Size: 2
“Switch to solar power: smart, simple, sustainable.”
Members: Yaxell, Marciel
We had fun designing the Solar Whiz and wanted to share with you the process of making it. We hope you enjoy reading, looking at the pictures, and watching our video.
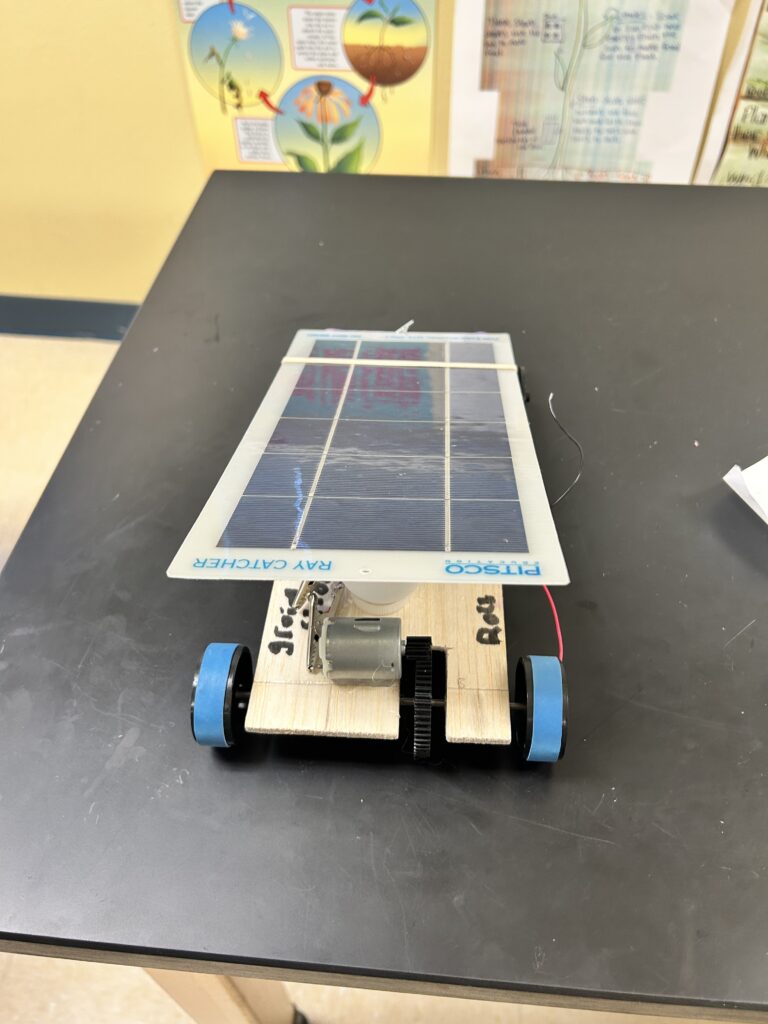
Materials Used
For this solar car, we used all the pieces that came with the Pitsco kit. Sandpaper machine, stencil knife, ruler, pencil, hot glue gun.
We also had to get some extra alligator clips from the science lab, and we bought a soldering gun for the wire connections.
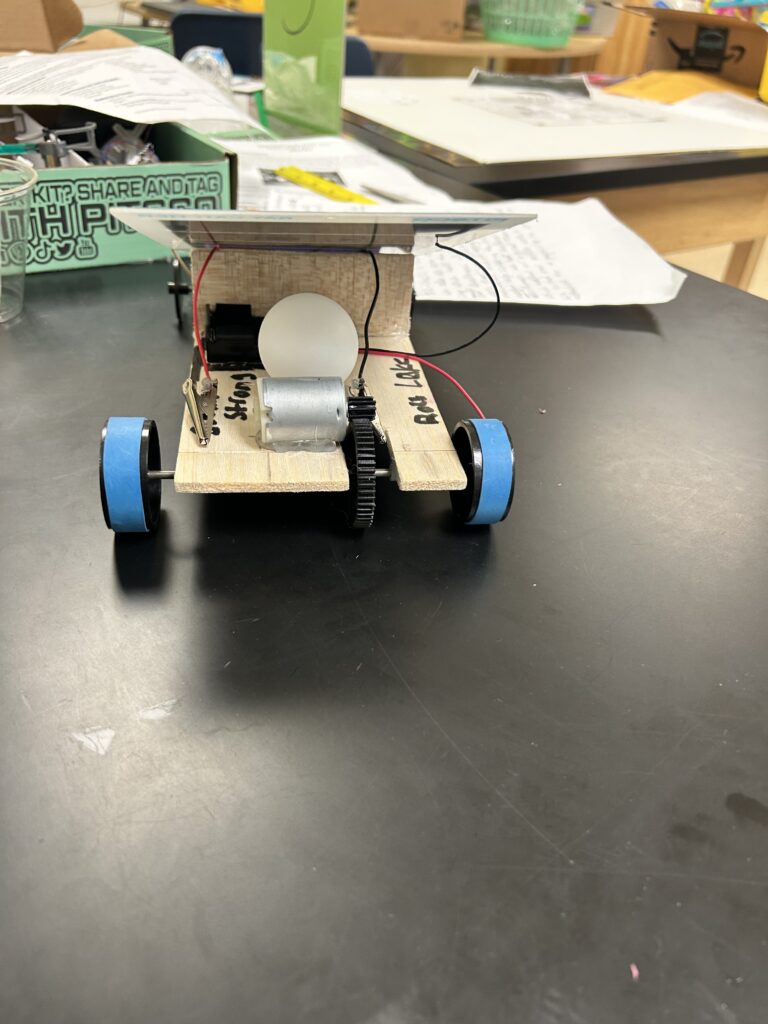
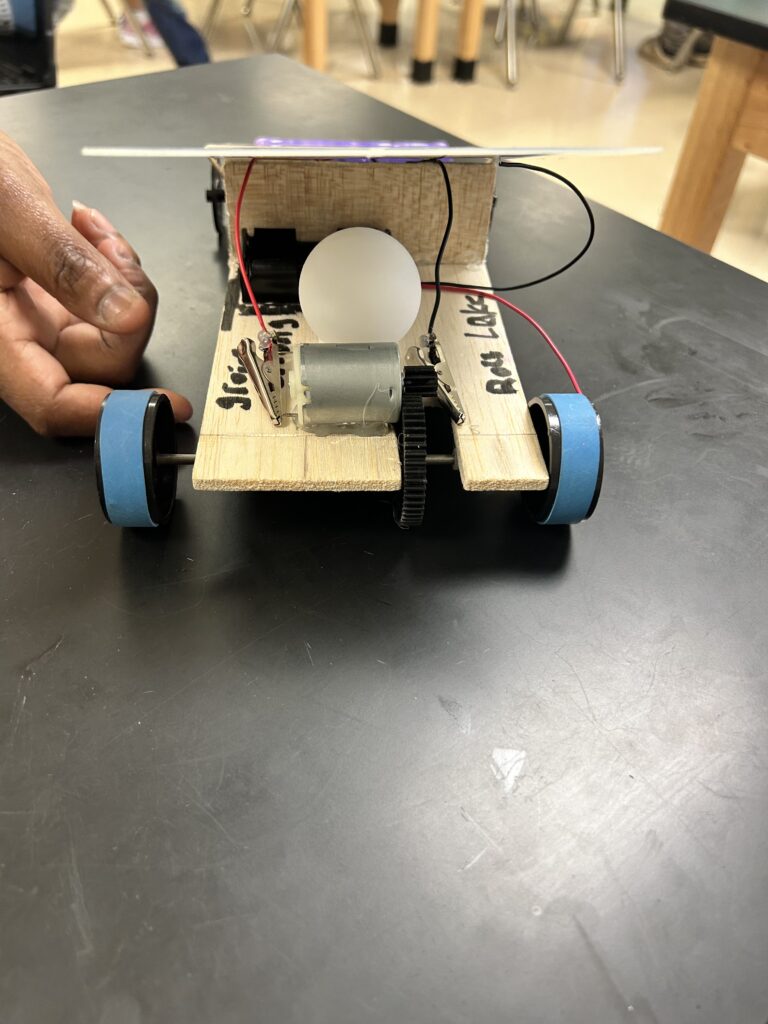
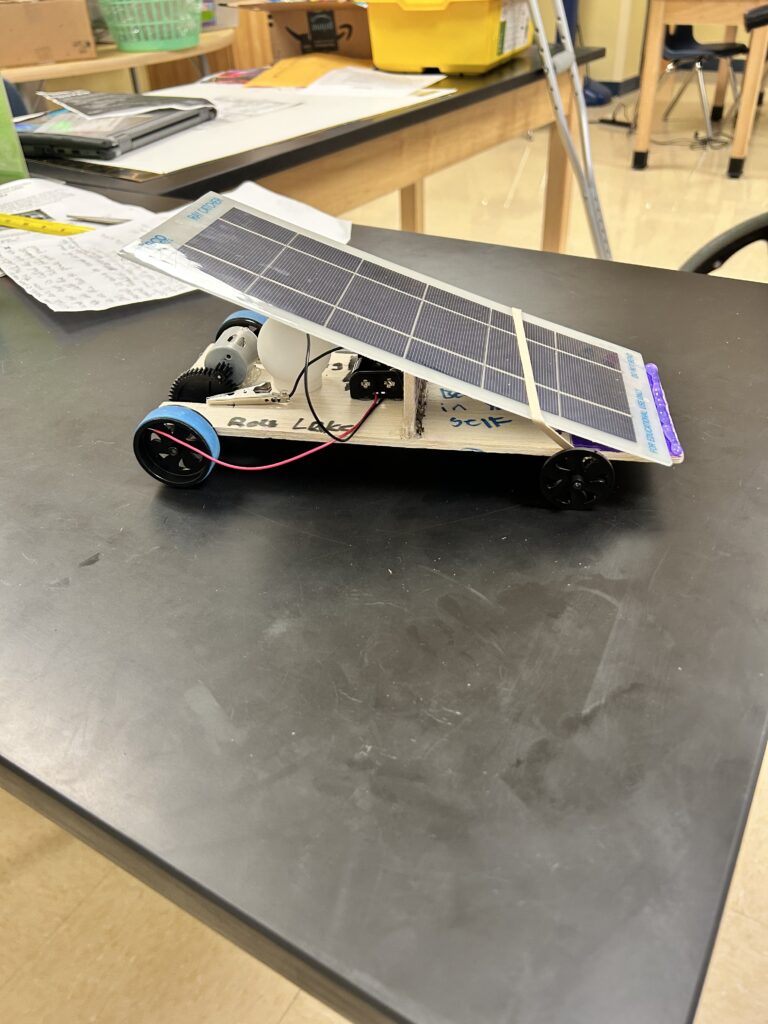
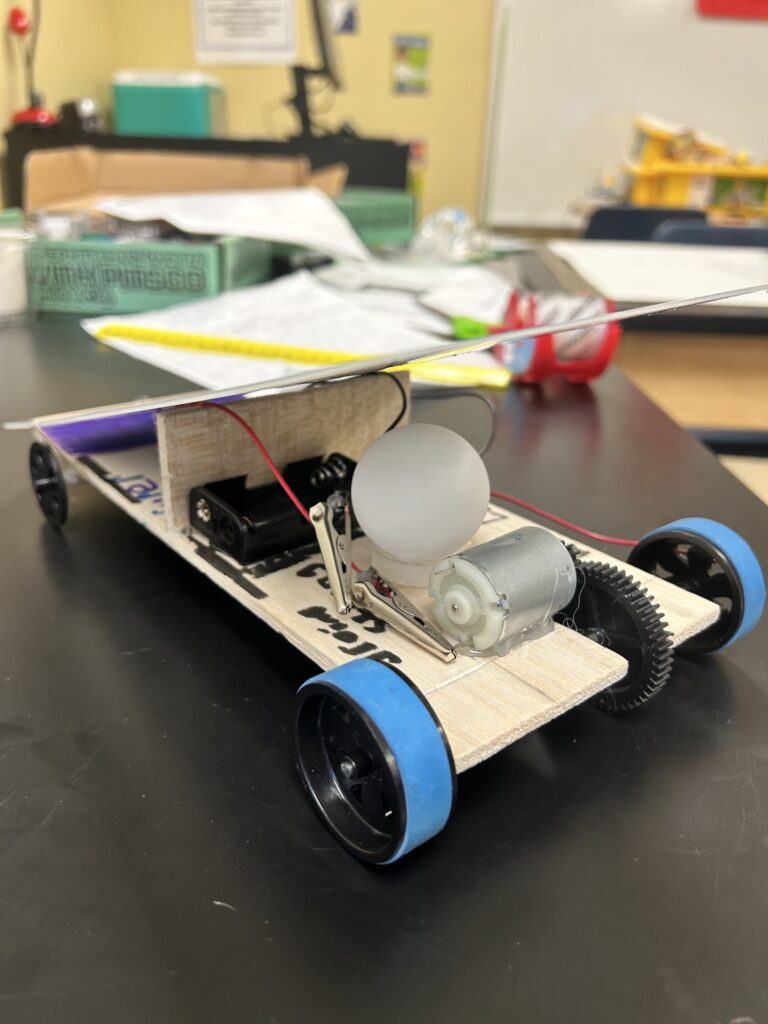
We used a ping pong ball as our passenger and the bottle cap as the holder, glued on with hot glue.
Project Log
📅 Wednesday, October 2
Tasks Completed: by Yaxell, Marciel
Time:45 minutes
- Began preparing the chassis.
- Measured and drew a line 5¼ inches through the balsa chassis.
- Flipped the chassis and drew a ¾-inch line from one end.
- Started outlining the rectangle on the chassis end:
1 inch from the top, measuring 5/8 inch × 1½ inches. - Drew all rectangle boundary lines.
Notes:
Rectangle shape is fully marked and ready for cutting next session.
📅 Wednesday, October 9
Tasks Completed: by Yaxell, Marciel
Time:45 minutes
- Drew a line 2½ inches from the opposite end of the chassis.
- Used a hobby knife to cut out the rectangle drawn last week.
- Smoothed the edges with sandpaper for clean fitting.
- Began preparing second balsa sheet:
- Measured 1⅛ inches from one end.
- Drew full-length line and cut out strip.
- Sanded edges for evenness.
Notes:
Both chassis pieces fully prepped; ready for gluing next week.
📅 Wednesday, October 16
Tasks Completed: by Yaxell, Marciel
Time: 45 minutes
- Glued the 1⅛-inch balsa strip onto the main chassis along the marked centerline.
- Applied glue bead and held the support panel perpendicular until set.
- Added glue lines on each side of the support panel for reinforcement.
Notes:
Support structure secured firmly; chassis is ready for axle assembly prep.
📅 Wednesday, October 23
Tasks Completed:by Yaxell, Marciel
Time: 30 minutes
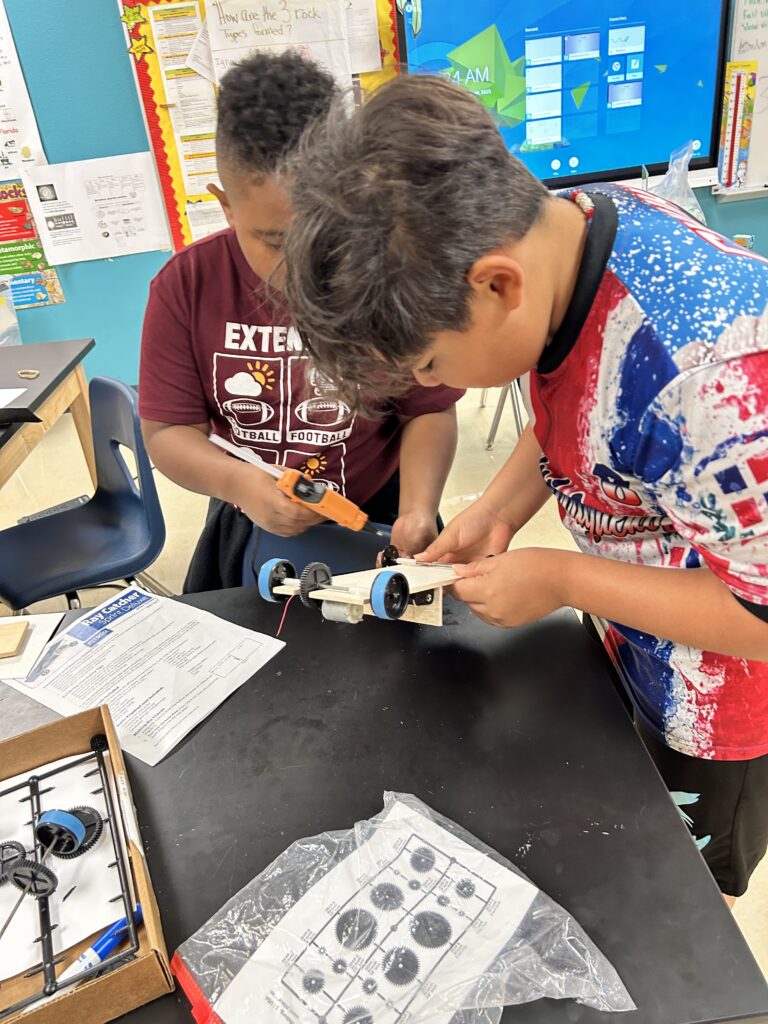
- Began axle preparation:
- Used sandpaper to deburr both axles so they slide smoothly into gears.
- Identified Gearbox I from the gear chart.
- Removed gear from the gear font and trimmed excess plastic.
Notes:
Axles and first gear are ready for assembly.
📅 Wednesday, October 30
Tasks Completed: by Yaxell, Marciel
Time: 30 minutes
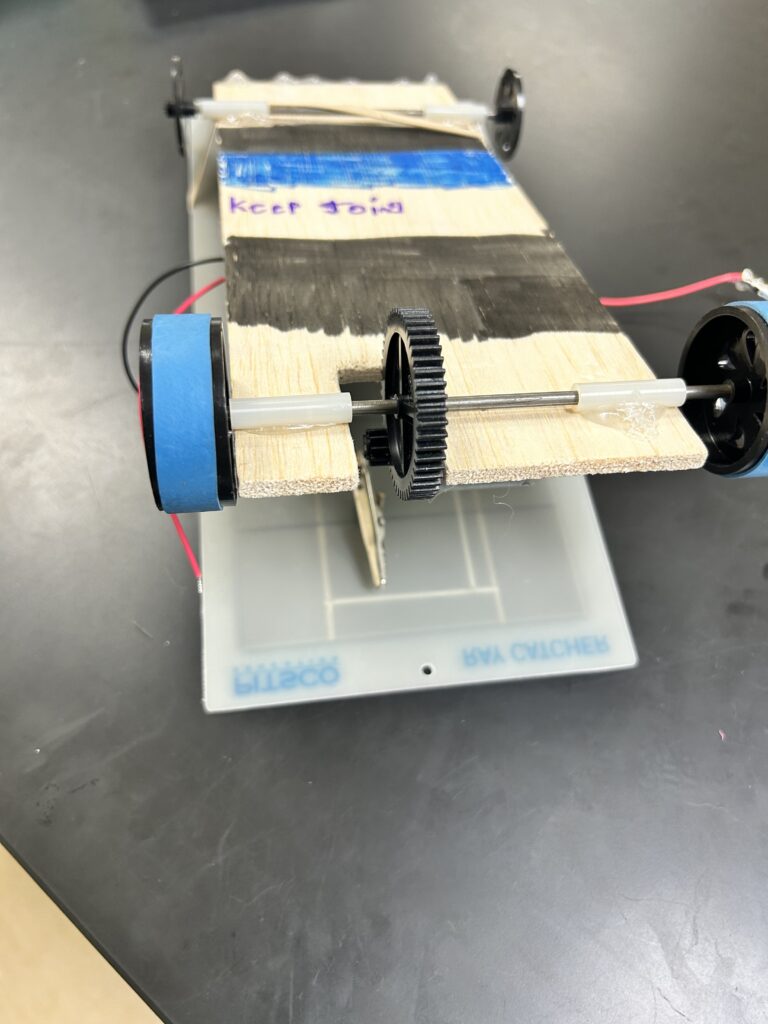
- Rear axle assembly completed:
- Slid gear onto axle at 1⅞ inches from one end.
- Placed two nylon spacers (one at each end).
- Pressed on both rear wheels until flush.
- Added wide rubber band to each wheel for traction.
Notes:
Rear axle fully assembled and ready for mounting next week.
📅 Wednesday, November 6
Tasks Completed: by Yaxell, Marciel
Time: 40 minutes
- Completed front axle assembly:
- Added wheel, spaced with two nylon spacers, added second wheel.
- Started attaching axles to chassis:
- Aligned rear axle to marked line; ensured gear was centered.
- Positioned spacers so gear will not slide around.
- Used clamps/friend to hold assembly and glued in place.
Notes:
Rear axle mounted. Front axle next.
📅 Wednesday, November 13
Tasks Completed:by Yaxell, Marciel
Time: 40 minutes
- Glued front axle assembly along the front measurement line.
- Ensured wheels and spacers were evenly spaced before glue cooled.
- Began motor installation:
- Removed Gear F from gear font and cleaned extra plastic.
- Attached gear to motor shaft, leaving slight space from motor body.
Notes:
Motor is prepped and ready for mounting.
📅 Wednesday, November 20
Tasks Completed: by Yaxell, Marciel
Time: 45
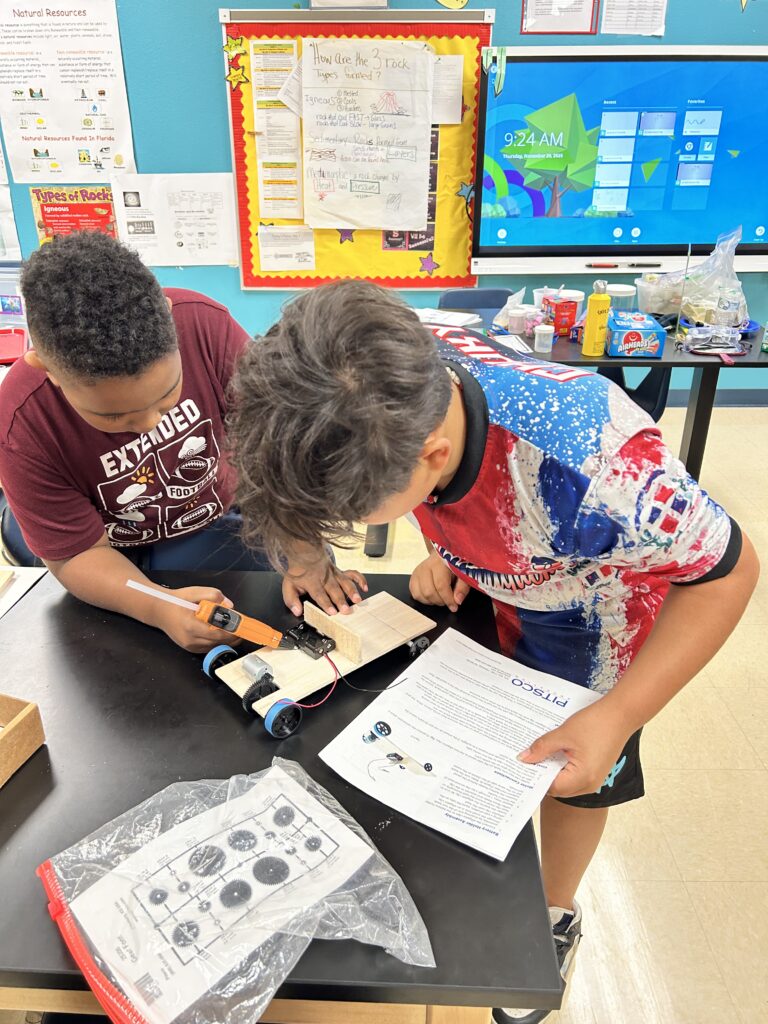
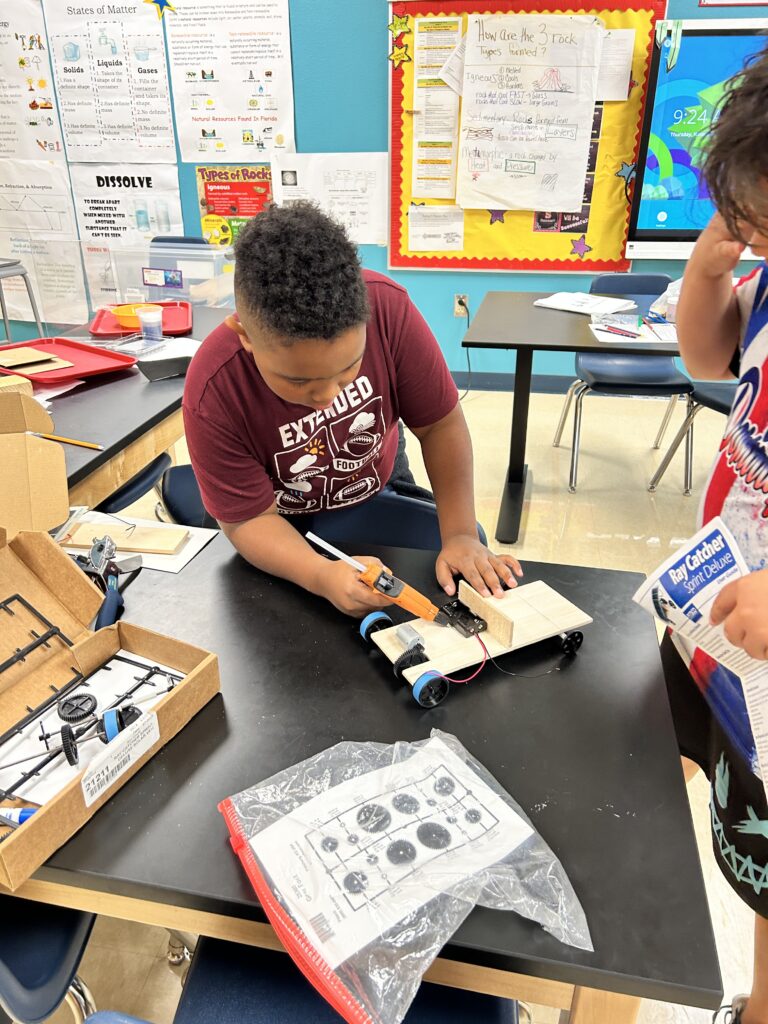
- Mounted motor onto chassis:
- Applied hot glue rectangle near rear axle.
- Positioned motor with vent side up and meshed gears properly.
- Reinforced with additional glue around motor base.
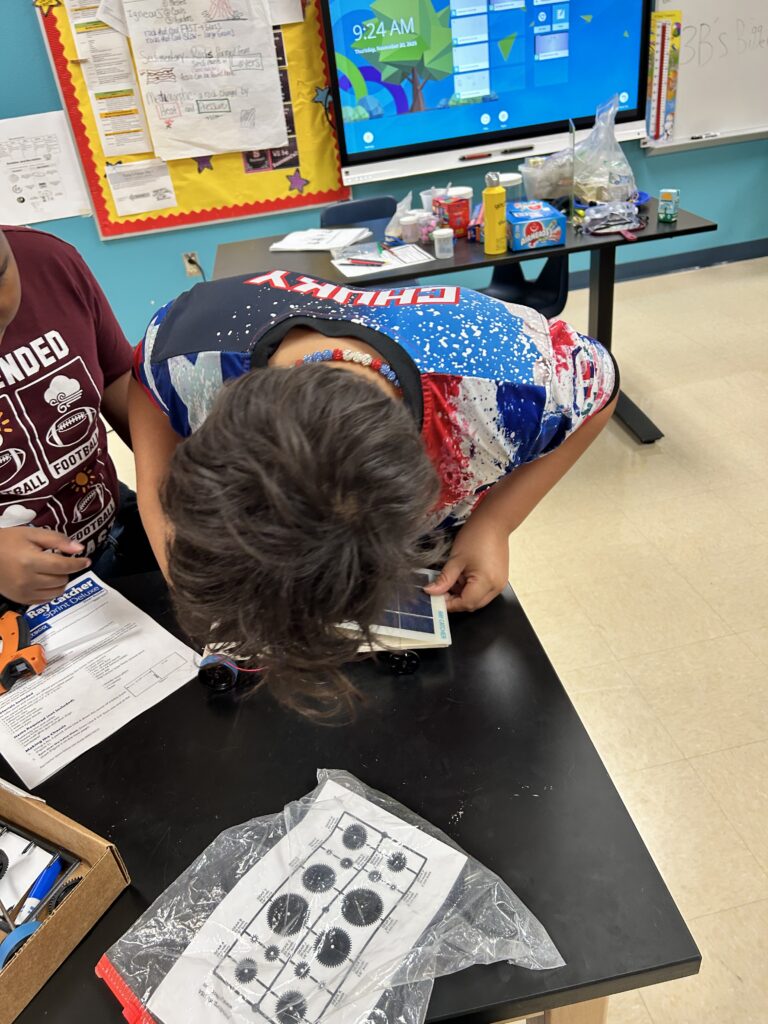
- Completed motor wiring:
- Soldered alligator clips to solar panel leads.
- Added glue over solder points for insulation.
- Took car outside to check motor and gear function.
Notes:
All components assembled. Car is functioning and ready for final test.
📅 Thursday, November 21 — Final Testing Day
Final Task: by Yaxell, Marciel
Time: 30 minutes
- Tested completed solar car outdoors.
- Checked alignment, wheel rotation, motor engagement, and solar panel power response.
- Verified car runs smoothly under sunlight.
Design Documentation
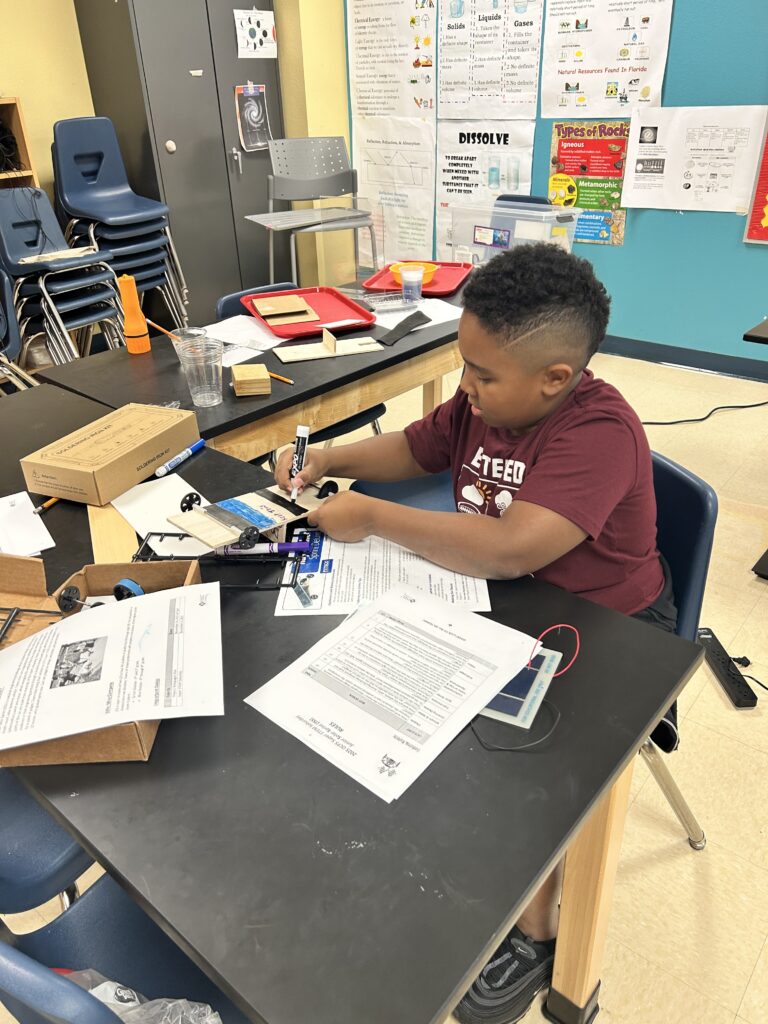
Our challenges while building this car were that we needed perfect measurements to ensure our car would run properly.

that is so cool good job
it’s looks good