
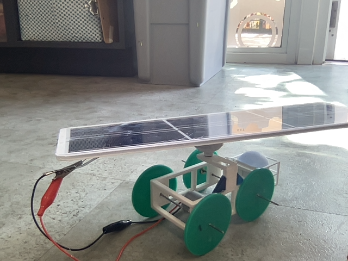
The PC Mobile!
Event Location: Cocoa-FL
Competition: Junior Solar Sprint
Division: 4-6 (JSS Green)
School: Pine Crest School
Team Size: 3
Pine Crest Engineering
Team Members – Charlotte W, Erika DP, and Sofia H (all members in sixth grade)

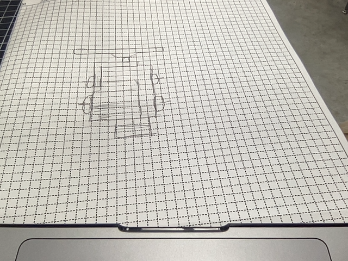
Day one 1/10/22: Today we discussed what shape our car would be, and we started brainstorming ideas. We also started working on tinkercad and creating our ball and joint connector.
Day two 1/12/22, All Members Present: Today we made a lot of progress with measuring our gears, and the placement of them. Today, we also worked on adding to our design in Tinkercad. We put gears into a design that we would use to test our measurements. That way, we wouldn’t have to print our whole car and have to change it if we made a miscalculation.
Day three 1/20/22, All Members Present: Today we made a lot of progress with perfecting our measurements of the connecting area between the screws and the motor. We also allowed more air to pass through in an oval shape which is proven in airflow. Our team also worked on the correct size of the ping pong ball and started brainstorming ideas.
Day four 1/24/22, All Members Present: We created a new design incorporating our original prototype. Today we also worked on our ping pong ball connector. We also cut holes into the design to help with the speed of our car.
Day five 1/27/22, SH wasn’t here: Today we worked on all the additional attachments, including the ping pong ball, and ball joint attachment. We also finalized our measurements and sent out another test run.

Day six 1/31/22 All Members Present: Today we worked on adding the hooks at the bottom of the car. We also finalized our measurements and we changed the socket joint attachment.
Day seven 2/3/22 All Members Present: Today we touched upon the ping pong ball attachment and attached our chassis to our motor. For the first time, we were successful in getting the motor to run at a rapid pace.
Day eight 2/7/22 CW wasn’t here: Today we attached the laser-cut acrylic wheels to our axles and added washers so there would be less friction between the wheel and the chassis of our car. We ran into a problem regarding attaching our solar panel, the wheels were too high on the car so the solar panel couldn’t be attached.

Day nine 2/10/22 All Members Present: Today we finished our design, and we finalized all minor details. We also added the ping pong attachment and verified that it works.
Day ten 2/24/22 All Members Present: My esteemed peers and I continued assembly and attached the solar panel. We began to test it and are now making our final print and began to assemble hooks of different sizes.
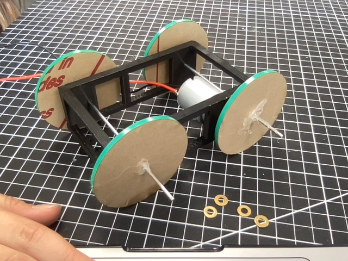
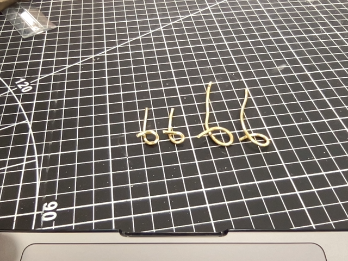
Day eleven 2/28/22 All Members Present: Today we worked on attaching the motor and wheels to our newly printed car. Upon adding the wheels we were also planning our hooks and how we would make and place them. My team and I decided on a thick, gold wire and began to experiment with the different sizes.
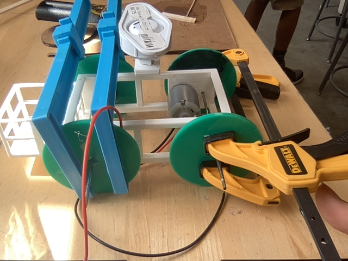
Day twelve 3/7/22 All Members Present: Today we epoxied our wheels using clamps to ensure they were secure, straight, and attached to the axel.
Day thirteen 3/10/22 All Members Present: Now that our epoxied wheels are completely dry, we sauntered our alligator clips to the wires. We attached the clips to the solar panel and began to test our car.
Day fourteen 3/14/22 All Members Present: Today we ran into a problem while improving our car. The motor came loose so we attempted to use an Allen wrench to tighten the screw. We didn’t have success using that method but we have a plan for the next class. We printed right triangles as supports for the solar panel attachment. While we also faced many challenges throughout the day we persevered and solved all issues.
Day fifteen 3/17/22 All Members Present: Today due to some complications with our engineering rooms, we are limited to one room that is lacking in certain supplies that we need to proceed with building our car. With the deadline approaching, we must work diligently to make our final improvements and adjustments.
Day sixteen 3/21/22 All Members Present: Today we made the final adjustments to our car. These include attaching our hooks, reinforcing our solar panel, and ensuring that our wheels were secure.
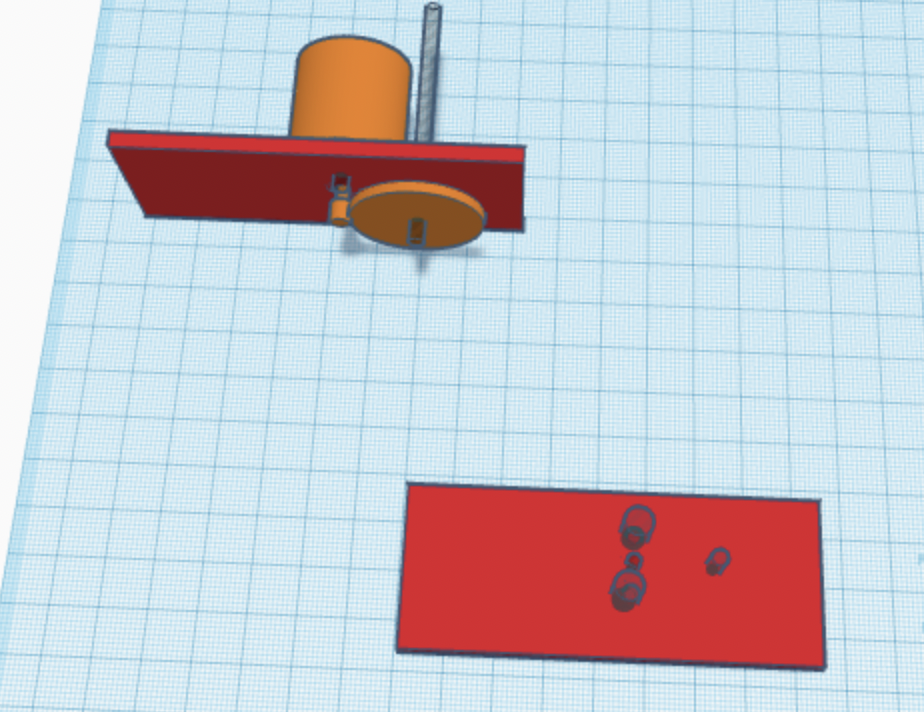
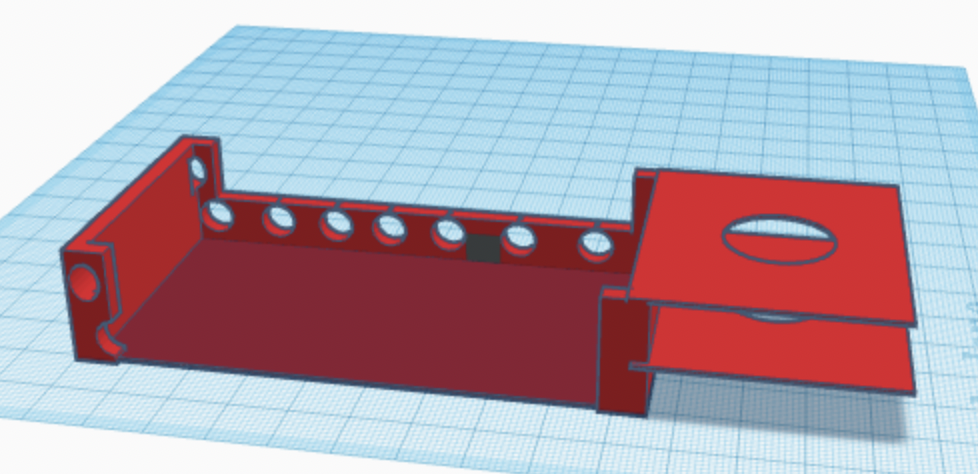
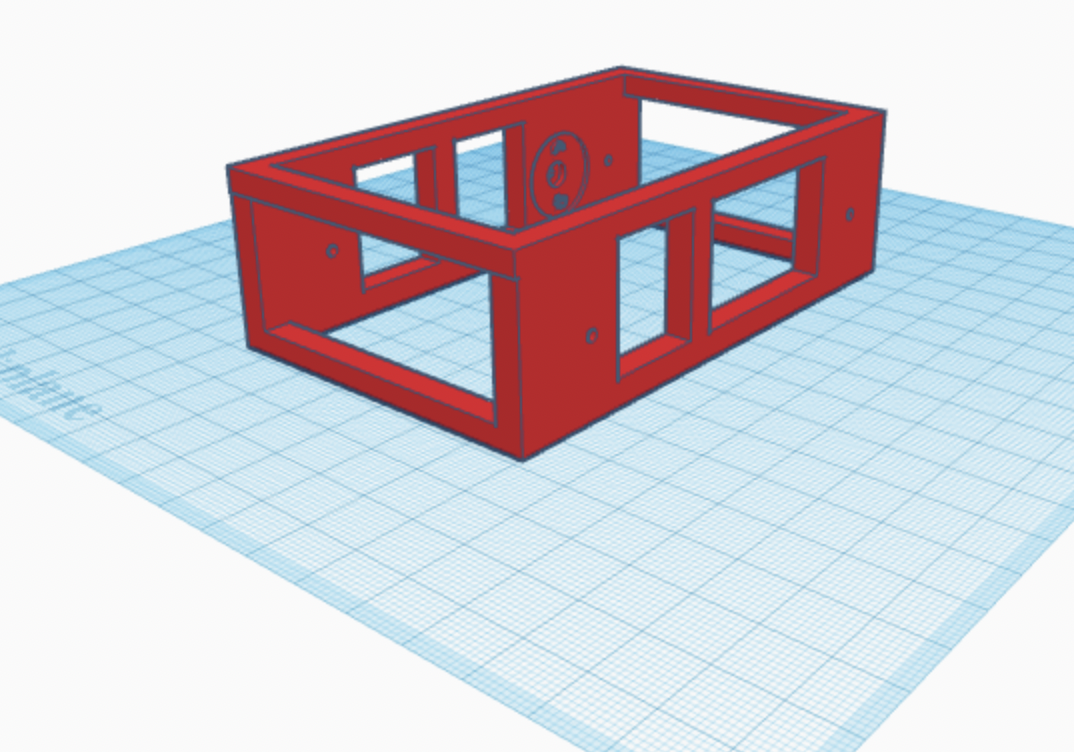
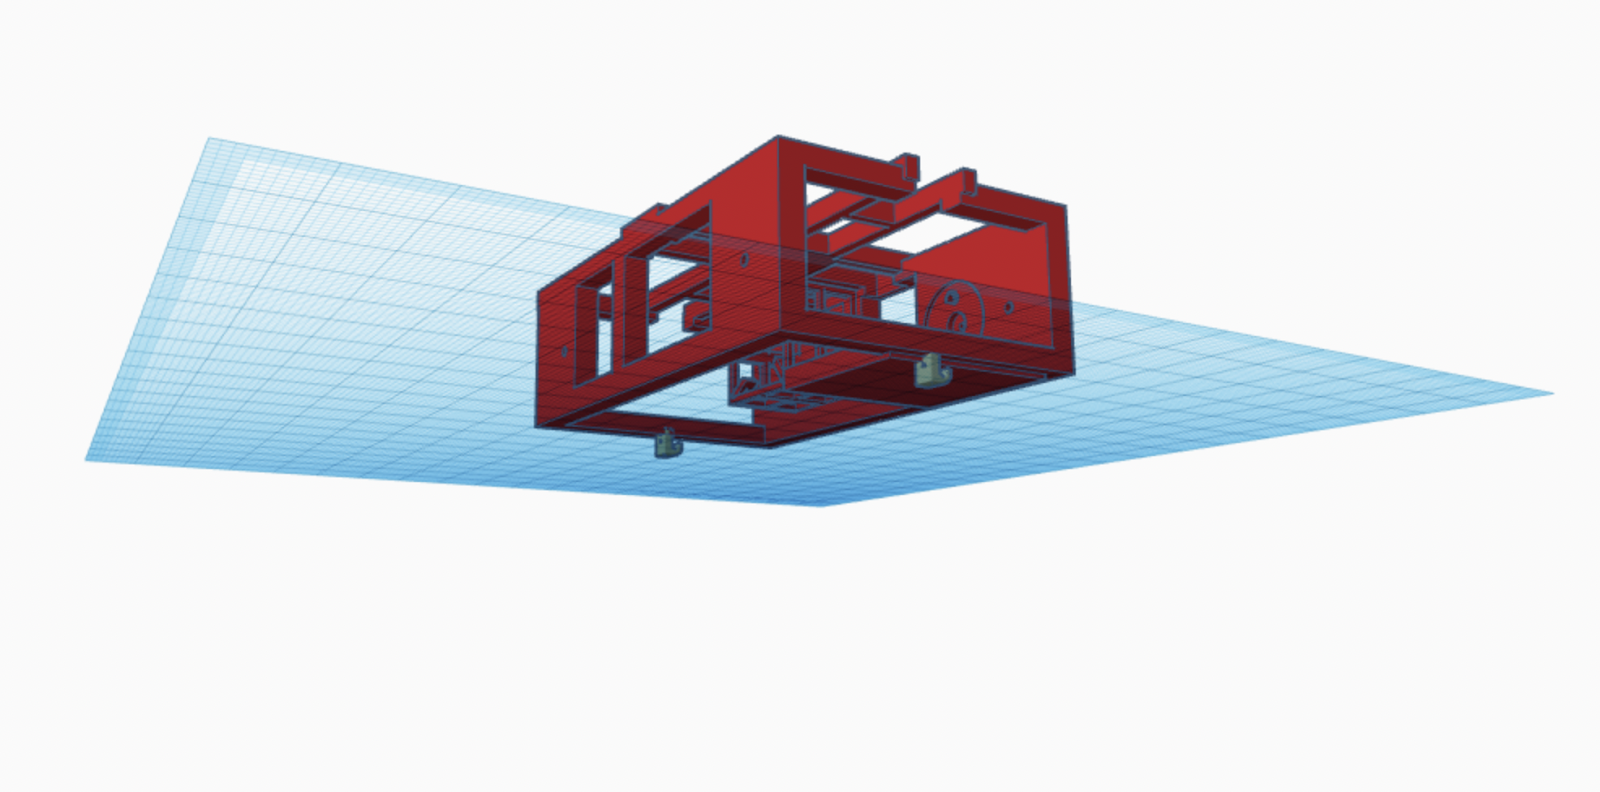
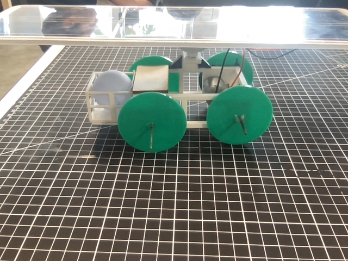
The Evolution of our car –

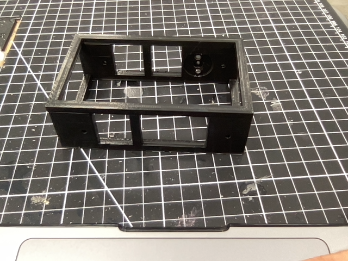

Original Second Stage Third Stage Final Stage
Car Specifications –
Material Prices :
ball and socket joint – $3.75
3D printer filament – $1.00
gears, motor, axles, solar panel from SolarMade Jr. Solar Sprint Kit: $29.99
acrylic wheels, laser cut: $2.00
wood from scrap pile
gold wire – $.50
Car Dimensions and Weight-
L = 105.50 mm
W = 66.50 mm
H = 33 mm
weight – 226 grams
gear proportions –
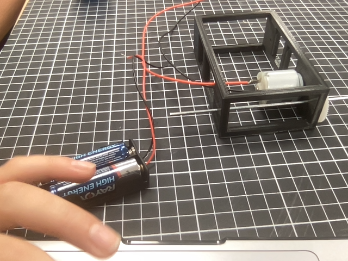
Test Runs –
1.) Battery Powered, cloudy, 20 ft, 7 seconds, 2.8 speed
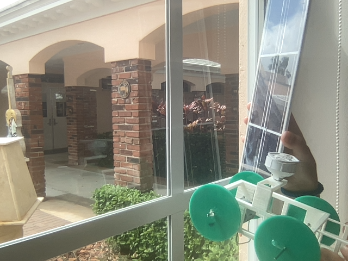
2.) Solar Powered, sunny, 50 ft, 5 seconds, 10 speed
3.) Solar Powered, sunny, 91.86 ft, 7.2 seconds, 12.7 speed
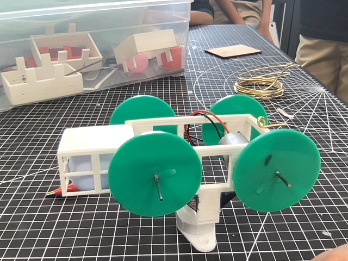
Our Design –
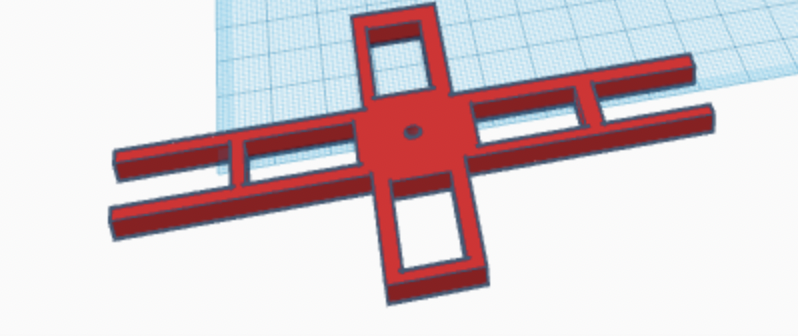
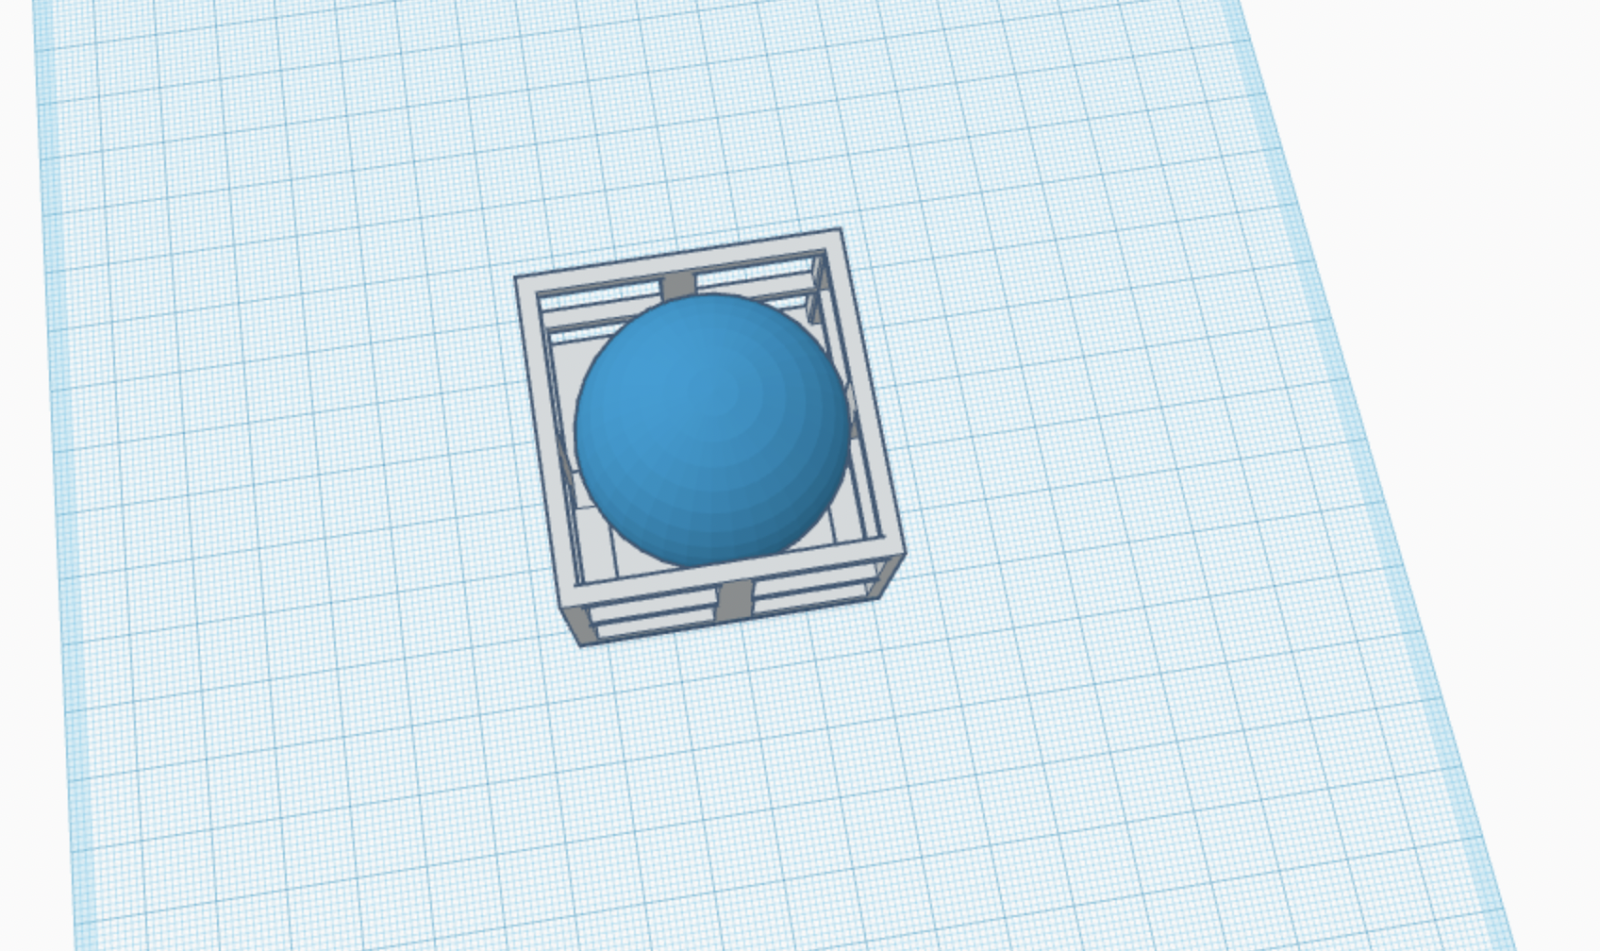
Our design changed tremendously throughout this project as we discovered what worked best and how it would move the fastest. Our final design has 3 main parts: the ping pong ball attachment, the ball and socket joint connection, and the body of the chassis. Firstly, the ping pong ball attachment was designed similarly to our car and is connected to the back. The design is very lightweight and we attached a piece of foam to ensure that the ball would not escape its compartment. Next, we experimented with the ball and socket joint connector and it evolved from a bulky, heavy design to a more lightweight and practical one. Two rectangles are stacked on top of each other creating an L shape, and we cut holes into the top allowing us to screw in the socket joint. Following, the body of the chassis is a rectangular design and made to match the ping pong ball attachment. We also added rectangular holes to make the car lighter to allow it to move at a more rapid pace.
What a smart design! Great job on all the work that went into this design.